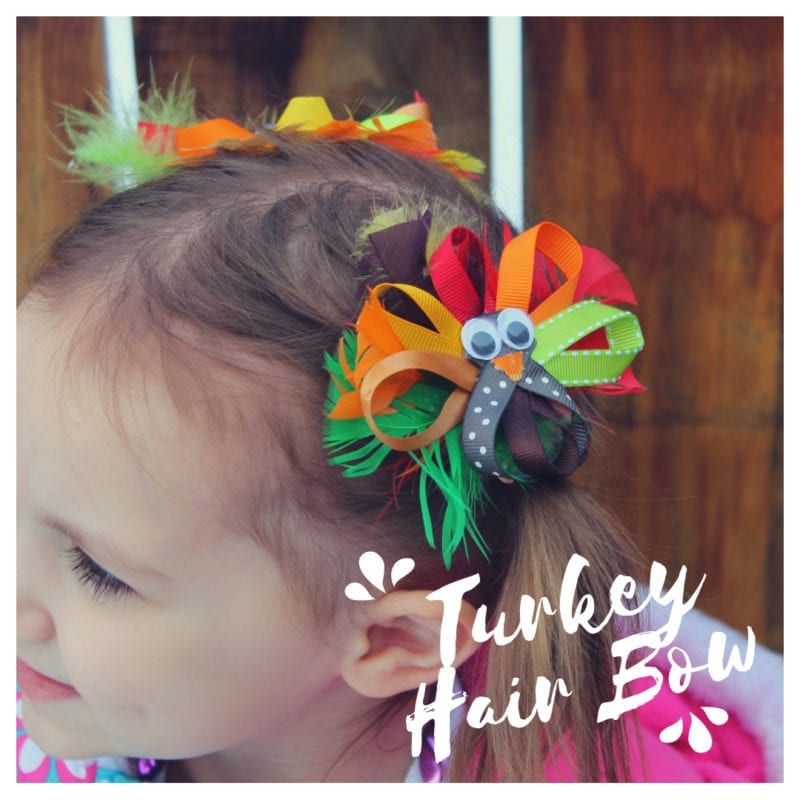
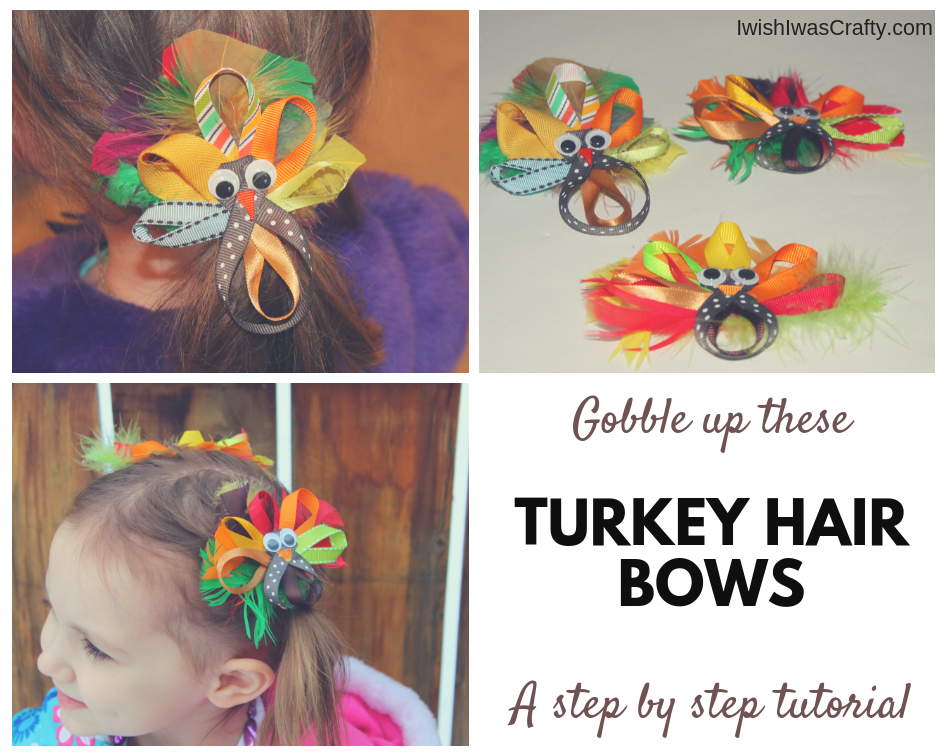
Thanksgiving Turkey Hair Bows are the cutest accessory you have ever seen. Your little girls are not going to be ready to put them away after the turkey is cold!
Thanksgiving Turkey Hair Bows
Buy the turkey? Check! Headcount on guests? Check! Find a perfect bow for your little lady’s Thanksgiving Day outfit? No worries there, because we have you covered with this tutorial. Nothing says Happy Turkey Day like these precious Turkey Bows. They are so fun to make and will surely have your little turkey looking festive for your feast.
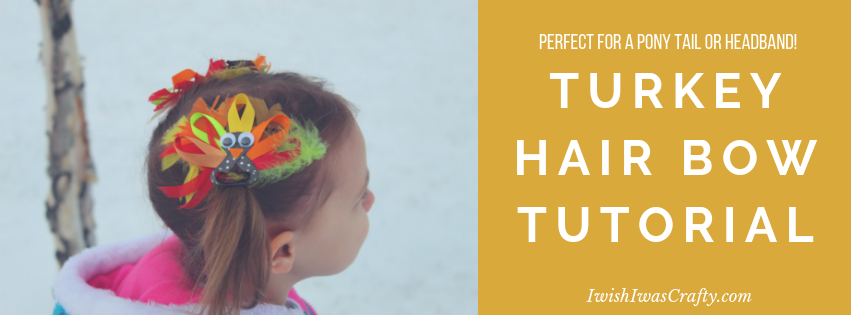
These sculpture bows are easy to customize with your favorite fall colors. If you have enough supplies, then be sure to make doubles for adorable pigtail bows. They not only look good on a clip for an updo but also make a snazzy headband accessory.
If you are brand new to making your own hair bows, we have some great tutorials to get you started.
Tips for Making Your Hair Bows
When choosing your ribbon, you can consider using all the same type (grosgrain, polyester, satin, etc) for your feather loops. Using the same type and size will give you a cute and classic look to your turkey. The other option is to use differing ribbons for a funky, whimsical look. Deciding between solid colored ribbons and patterned ribbons with designs or glitter can also change up your end result.
Something to also consider when making bows is what type of hair clip you will be using. For thick or curly hair, I recommend using a barrette style clip. For fine, baby hair I recommend using alligator clips. If you’re making a baby bow, you may even choose to use a headband to secure your turkey bow to.
When I had babes in the house, I would make the bows on a flat clip and use those crochet headbands. The clip goes right in between the stitches and I loved that I could interchange my bows with just a few neutral colored headbands. Bonus! Once we were out of the baby headband stage, I was still able to use the bows in their hair.
How to Make Turkey Hair Bows
Supplies Needed:
- Brown and/or Gold Ribbon
- Various colors of ribbon (can be different types and width for variety or same types for symmetry. This is up to personal preference.)
- Different colors of craft feathers
- Googly eyes
- Small piece of orange or yellow ribbon
- Hair clip
- Scissors
- Glue gun/glue sticks
- Lighter
Directions:
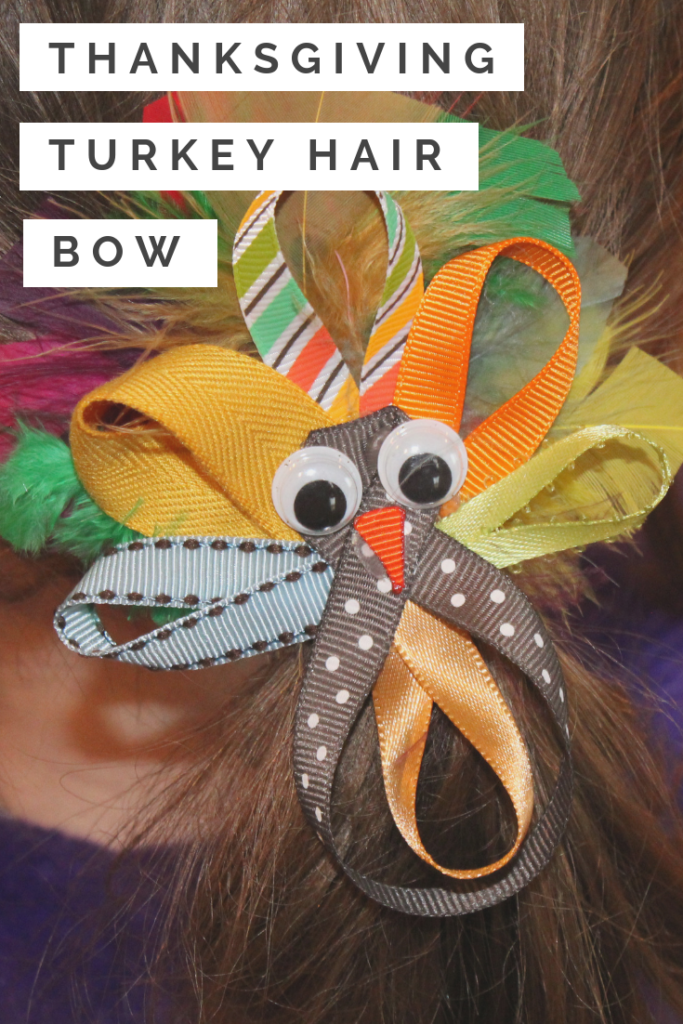
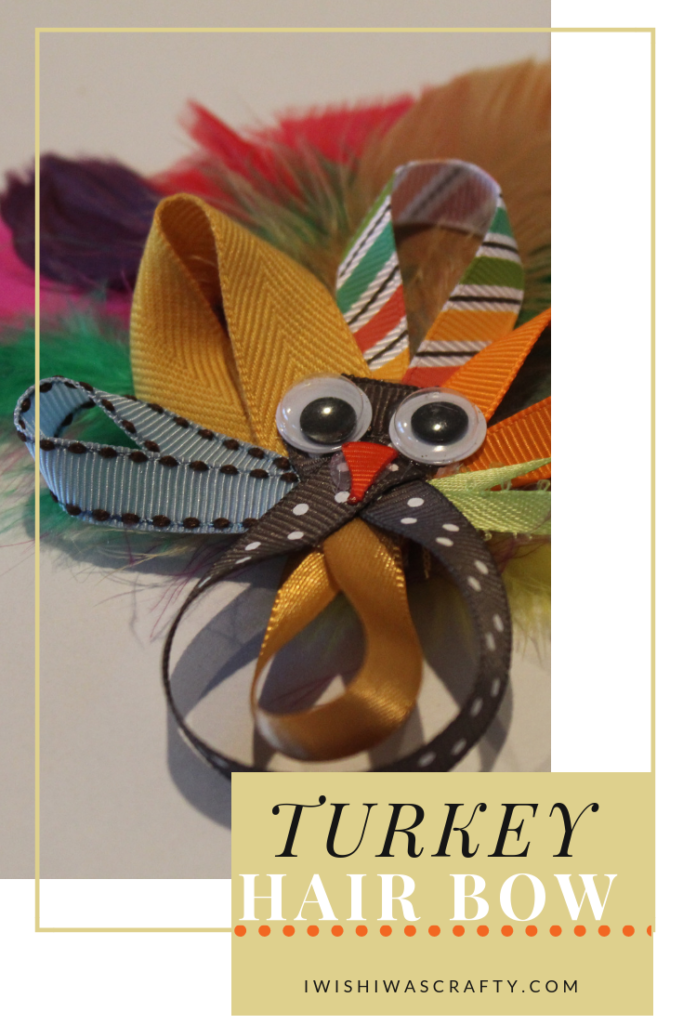
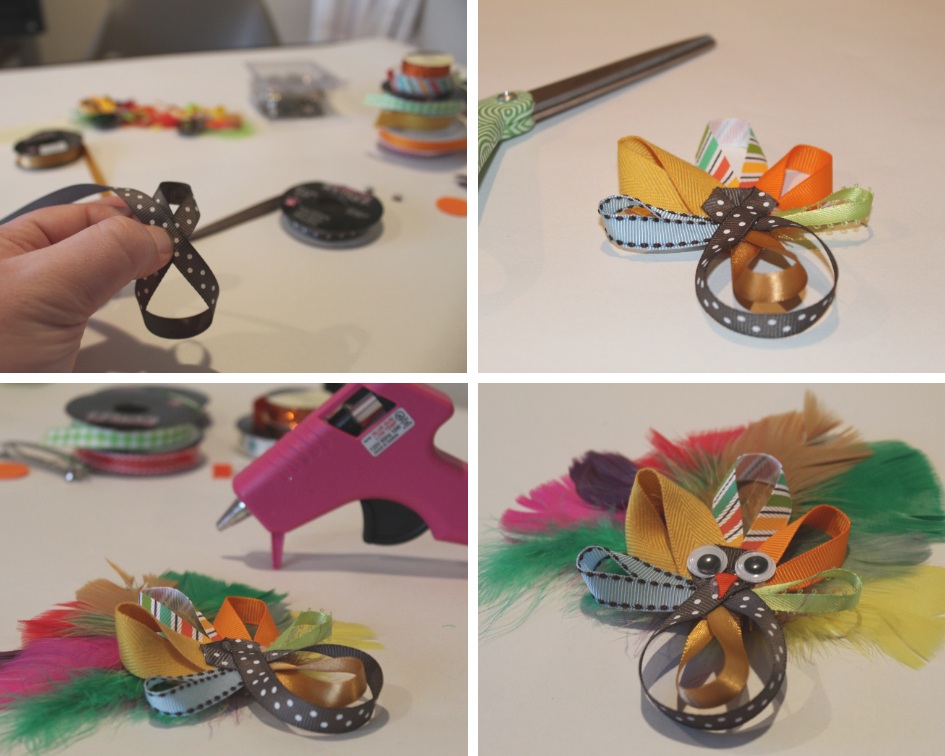
- Make a figure “8” with your brown colored ribbon. This will be the body of your turkey. Mine is roughly 2 ¾ inches, from top to bottom. Be sure to arrange it so that your top loop is smaller and your bottom loop is bigger. Glue the top loop down flat so you can attach your googly eyes and beak. Using your brown or gold colored ribbon, form a smaller loop inside the bigger loop of your “8”. Cut and glue it to the body to add dimension to your turkey body.
- Cut a 4 inch strip from each of your colored ribbon. Glue them into loops and glue them around the top of the body of your turkey bow. Place your feathers behind the loops how you’d like them and glue them in place. You can choose to keep them long or trim them to the length of your loops.
- Cut out a small triangle from your orange (or yellow) ribbon. Using a lighter to burn the edges is recommended to prevent fray. Glue the eyes and triangle beak to the top loop on your turkey body.
- Glue a spare scrap of ribbon or felt to the back of your turkey to secure the feathers. Anchor your hair clip to said ribbon/felt with a good amount of glue.
Tada! You should have yourself a fabulous turkey bow that everyone will simply gobble over. I would love to see your finished turkeys, so don’t forget to share them in the comments.
You can also find fun Halloween Hair Bows you can make yourself here!


Leave a Reply