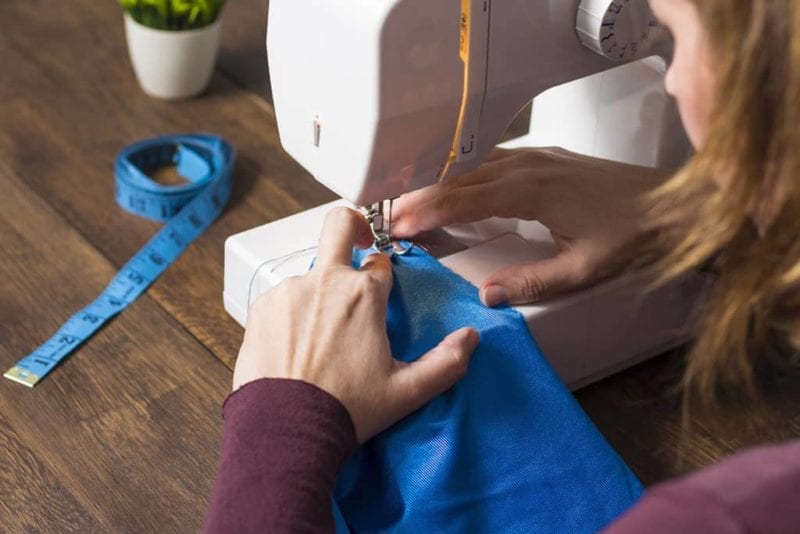
You want to sew but you need some Sewing Machine Basics?
You’ve been dreaming of sewing creating intricate patterns for your kids. Your head is literally bustling with creative ideas…
Or the holidays are coming and you long to give the people you love something you made yourself (or you just want to save money!)
Or it could be that you are just looking for a new hobby, because of stress or because you suddenly find yourself with free time.
You have taken the first bold step. You purchased a sewing machine for yourself… (or someone gave you a hand-me-down)
But now what?
Most of the videos you’ve been seeing speak in terms you do not understand. Heck! You don’t know what most of the machine parts doo, much less what you should actually do when you start sewing.
This guide takes you through the parts of your sewing machine and some sewing basics.
Sewing Machine Basics
There are a lot of options when trying to purchase a sewing machine. But for the purposes of this article we assume you already have one. Truth is, the premise is the same on most machines – there are some sewing machines that will drive your car for you if you want to pay for it. But if you are getting started, a basic machine should be fine.
It is very important you consult the manual that comes with the model you purchased. There could be slight differences you should know about or special cleaning instructions.
Basic Parts of a Sewing Machine
Below are the important parts of the machine and their functions. You can check your machine’s manual if you have difficulties identifying the parts on your machine.
- Bobbin case and bobbin: the bobbin case houses the bobbin; the part of the machine that holds the thread that appears on the underside of the stitch.
- Side plate: the side place gives access to the bobbin
- Needle: there are different sizes of needles for your sewing machine and you can switch the needles freely, depending on what you’re working on.
- Needle clamp: keeps the needle in place
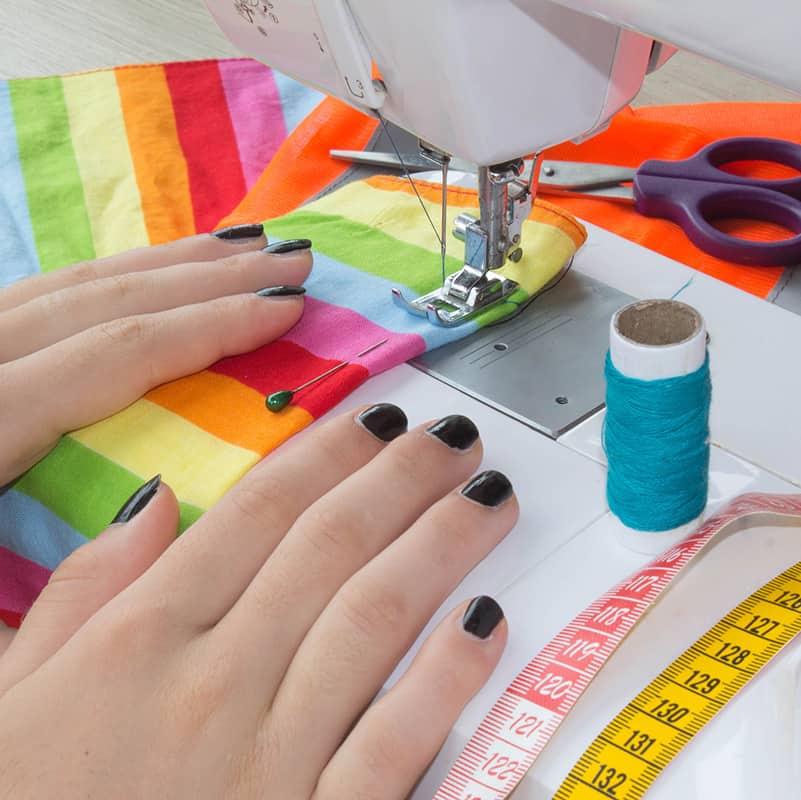
- Presser foot: the presser foot helps keep the fabric in place to make sewing easier. There are different kinds and you can also change them based on the sewing project you are working on.
- Throat palate/needle plate: you can find this metal plate below the needle and presser foot. The plate gives room for the thread bobbin and needle to pass through in order to make stitches.
- Tension regulator: as the name suggests, it helps control the tension on the top thread. The top thread and the bobbin thread work closely together to create uniform stitches. This can only be achieved if the top thread isn’t set too tight or too lose.
- Feed Dogs: Your machine’s feed dog is usually made of small rubber or metal teeth. The teeth serve to pull the fabric gently so that it passes through the machine in a uniform manner. Using the feed dogs is better than trying to pull the fabric manually as this could lead to non-uniform stitches or worse, damage some parts of your machine.
- Thread take-up lever: this lever allows the passage of the top-thread and moves in sync with the needle. The take-up lever should always be at its highest point before you start sewing in order to ensure the fabric doesn’t get caught in the handle
- Bobbin winder tension disk: the disk guides the bobbin thread between the winder and the spool. This part is present only in machines that have an external bobbin winder.
- Bobbin winder: the winder holds the spool in place when the bobbin is being filled. It is necessary the bobbin is empty prior to the commencement of any sewing operation so you could ensure the thread winds evenly.
- Thread guides: sewing machines come with two thread guides: upper and lower thread guides. The thread passes through both guides in a manner that ensures it retains just the right amount of tension.
- Flywheel/hand wheel: responsible for raising or lowering the thread take-up lever. You should always ensure you turn the flywheel towards you while sewing
- Stitch selector: the appearance of the stitch selector largely depends on the model of your machine. While older models possess a dial that gives room for choosing between different stitches, newer models have buttons for this operation.
- Stitch length selector: this dial helps you select the desired stitch length. You should get familiar with the measurement of the stitch length for your machine as it could vary from one machine to another.
- Stitch width selector: Predictably, this dial helps you select the width of your stitches
- Reverse button/backstitch button: Allows you to change the direction of your stitches
- Foot controller: helps control the stitching speed, to an extent
- Menu option: this can be found in newer models of electronic machines. If you have one of these, you can easily adjust stitches and other some other functions.
- Spool pin: the spool pin holds the thread while you are sewing
How to Thread a Sewing Machine
Perhaps the first thing you’ll have to learn about using your sewing machine is how to thread it. Sewing machines differ from model to model. So google it! Seriously, there are videos of everything. Also, most sewing machine brands have resource videos on their homepage.
For example, if you have a Singer sewing machine, check out their resources page here to learn to thread your machine.
Beginner Sewing supplies
Before you can start sewing, you will need some basic sewing supplies. Find the clerk in the fabric department of your favorite craft store and get some help choosing (preferably inexpensive) fabric to start, threads, scissors, pins, a seam ripper, and bobbins.
As you move forward on your sewing journey, you will discover all sorts of fun things in both the sewing and fabric aisles at your local craft or sewing shop.
But don’t buy a lot at first, you will find things you enjoy making more than others. And you don’t need specialty items you won’t use often. So go slow and buy what you need as you need it. Trust me, if you fall in love with sewing, supplies will take over your house soon enough.
We hope this guide has helped unravel some of the mysteries behind the parts of your new sewing machine.
Remember, like any other craft, learning how to sew requires a little patience and a lot of practice. Start easy and learn as you go… Start with easy patterns and gradually increase the difficulty of what you are creating.
And send us pictures!! We want to see what you are making!
Leave a Reply