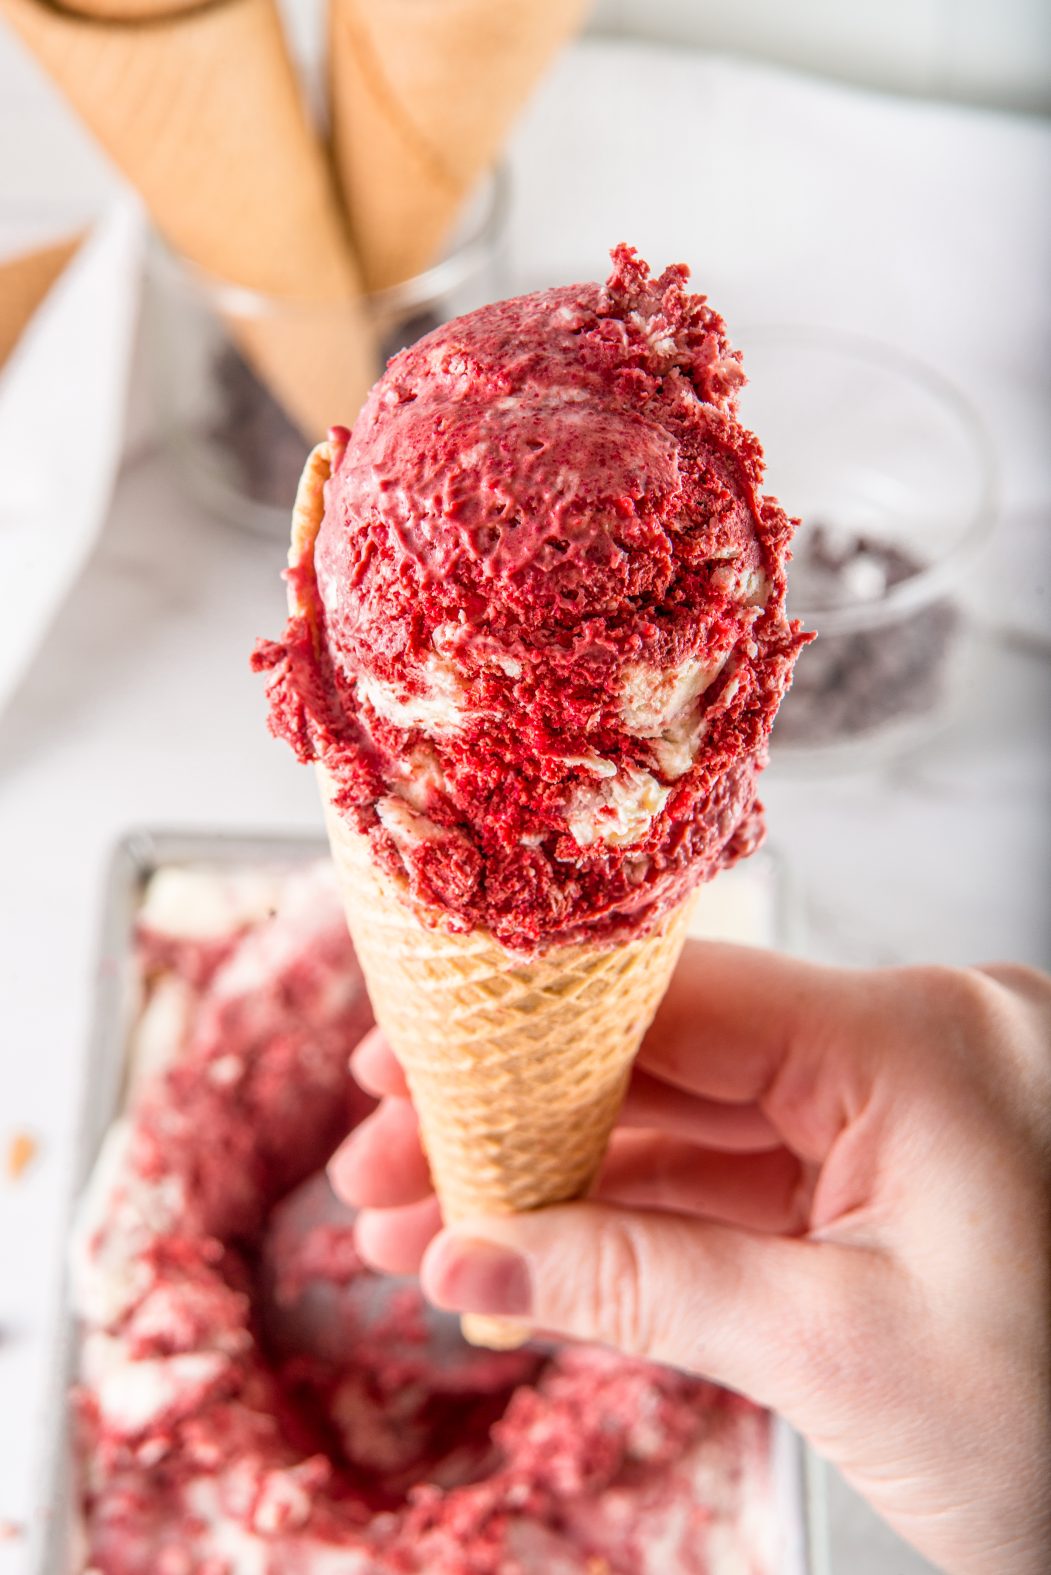
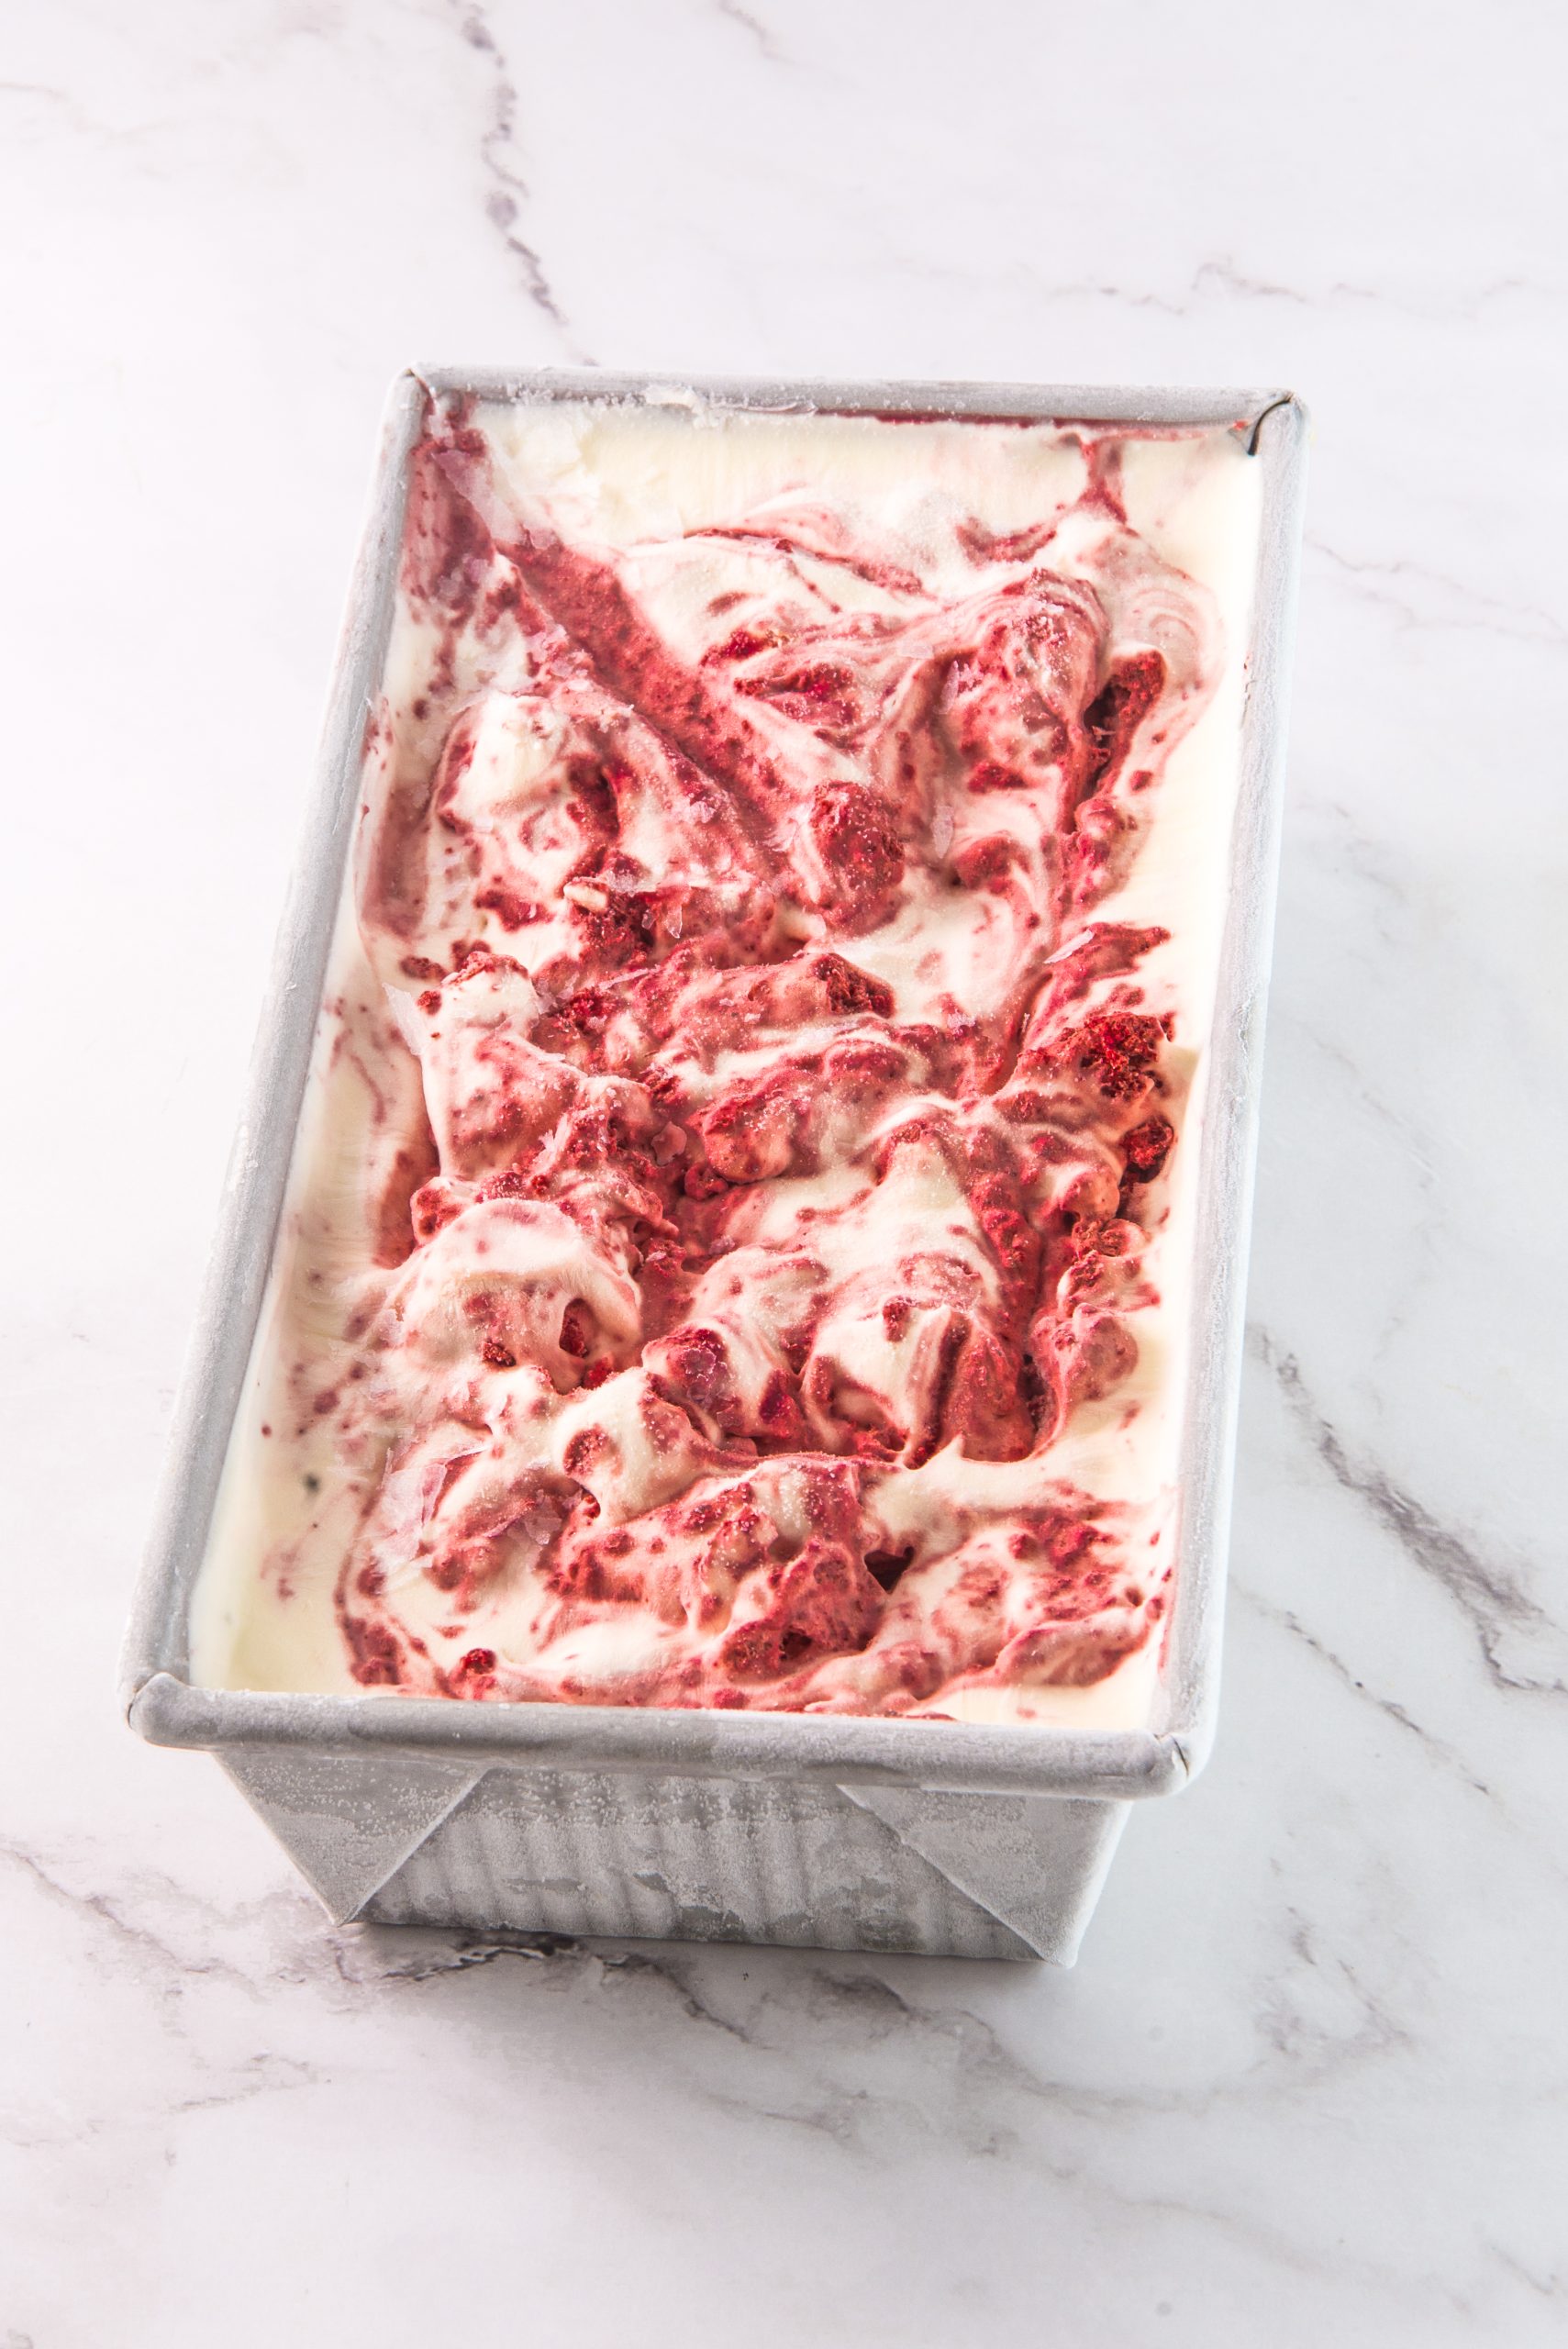
This Red Velvet Ice Cream is a lavish treat for any occasion, excellent for brightening up the menu at your next party, or even to enjoy by yourself.
Red Velvet Ice Cream
Do you prefer cake, or ice cream? With this recipe, you don’t have to choose! Created with cream cheese, vanilla, and chocolate, this luscious ice cream will impress your family and friends!
Looking for other fun summer recipes? Check out our recipes for fresh blueberry compote, mango pineapple smoothies, and jam and oat bars!
Why You will Love this Recipe
- This recipe can be prepped and frozen overnight.
- Can be stored in an air-tight container in the freezer, and keeps for 2-3 weeks.
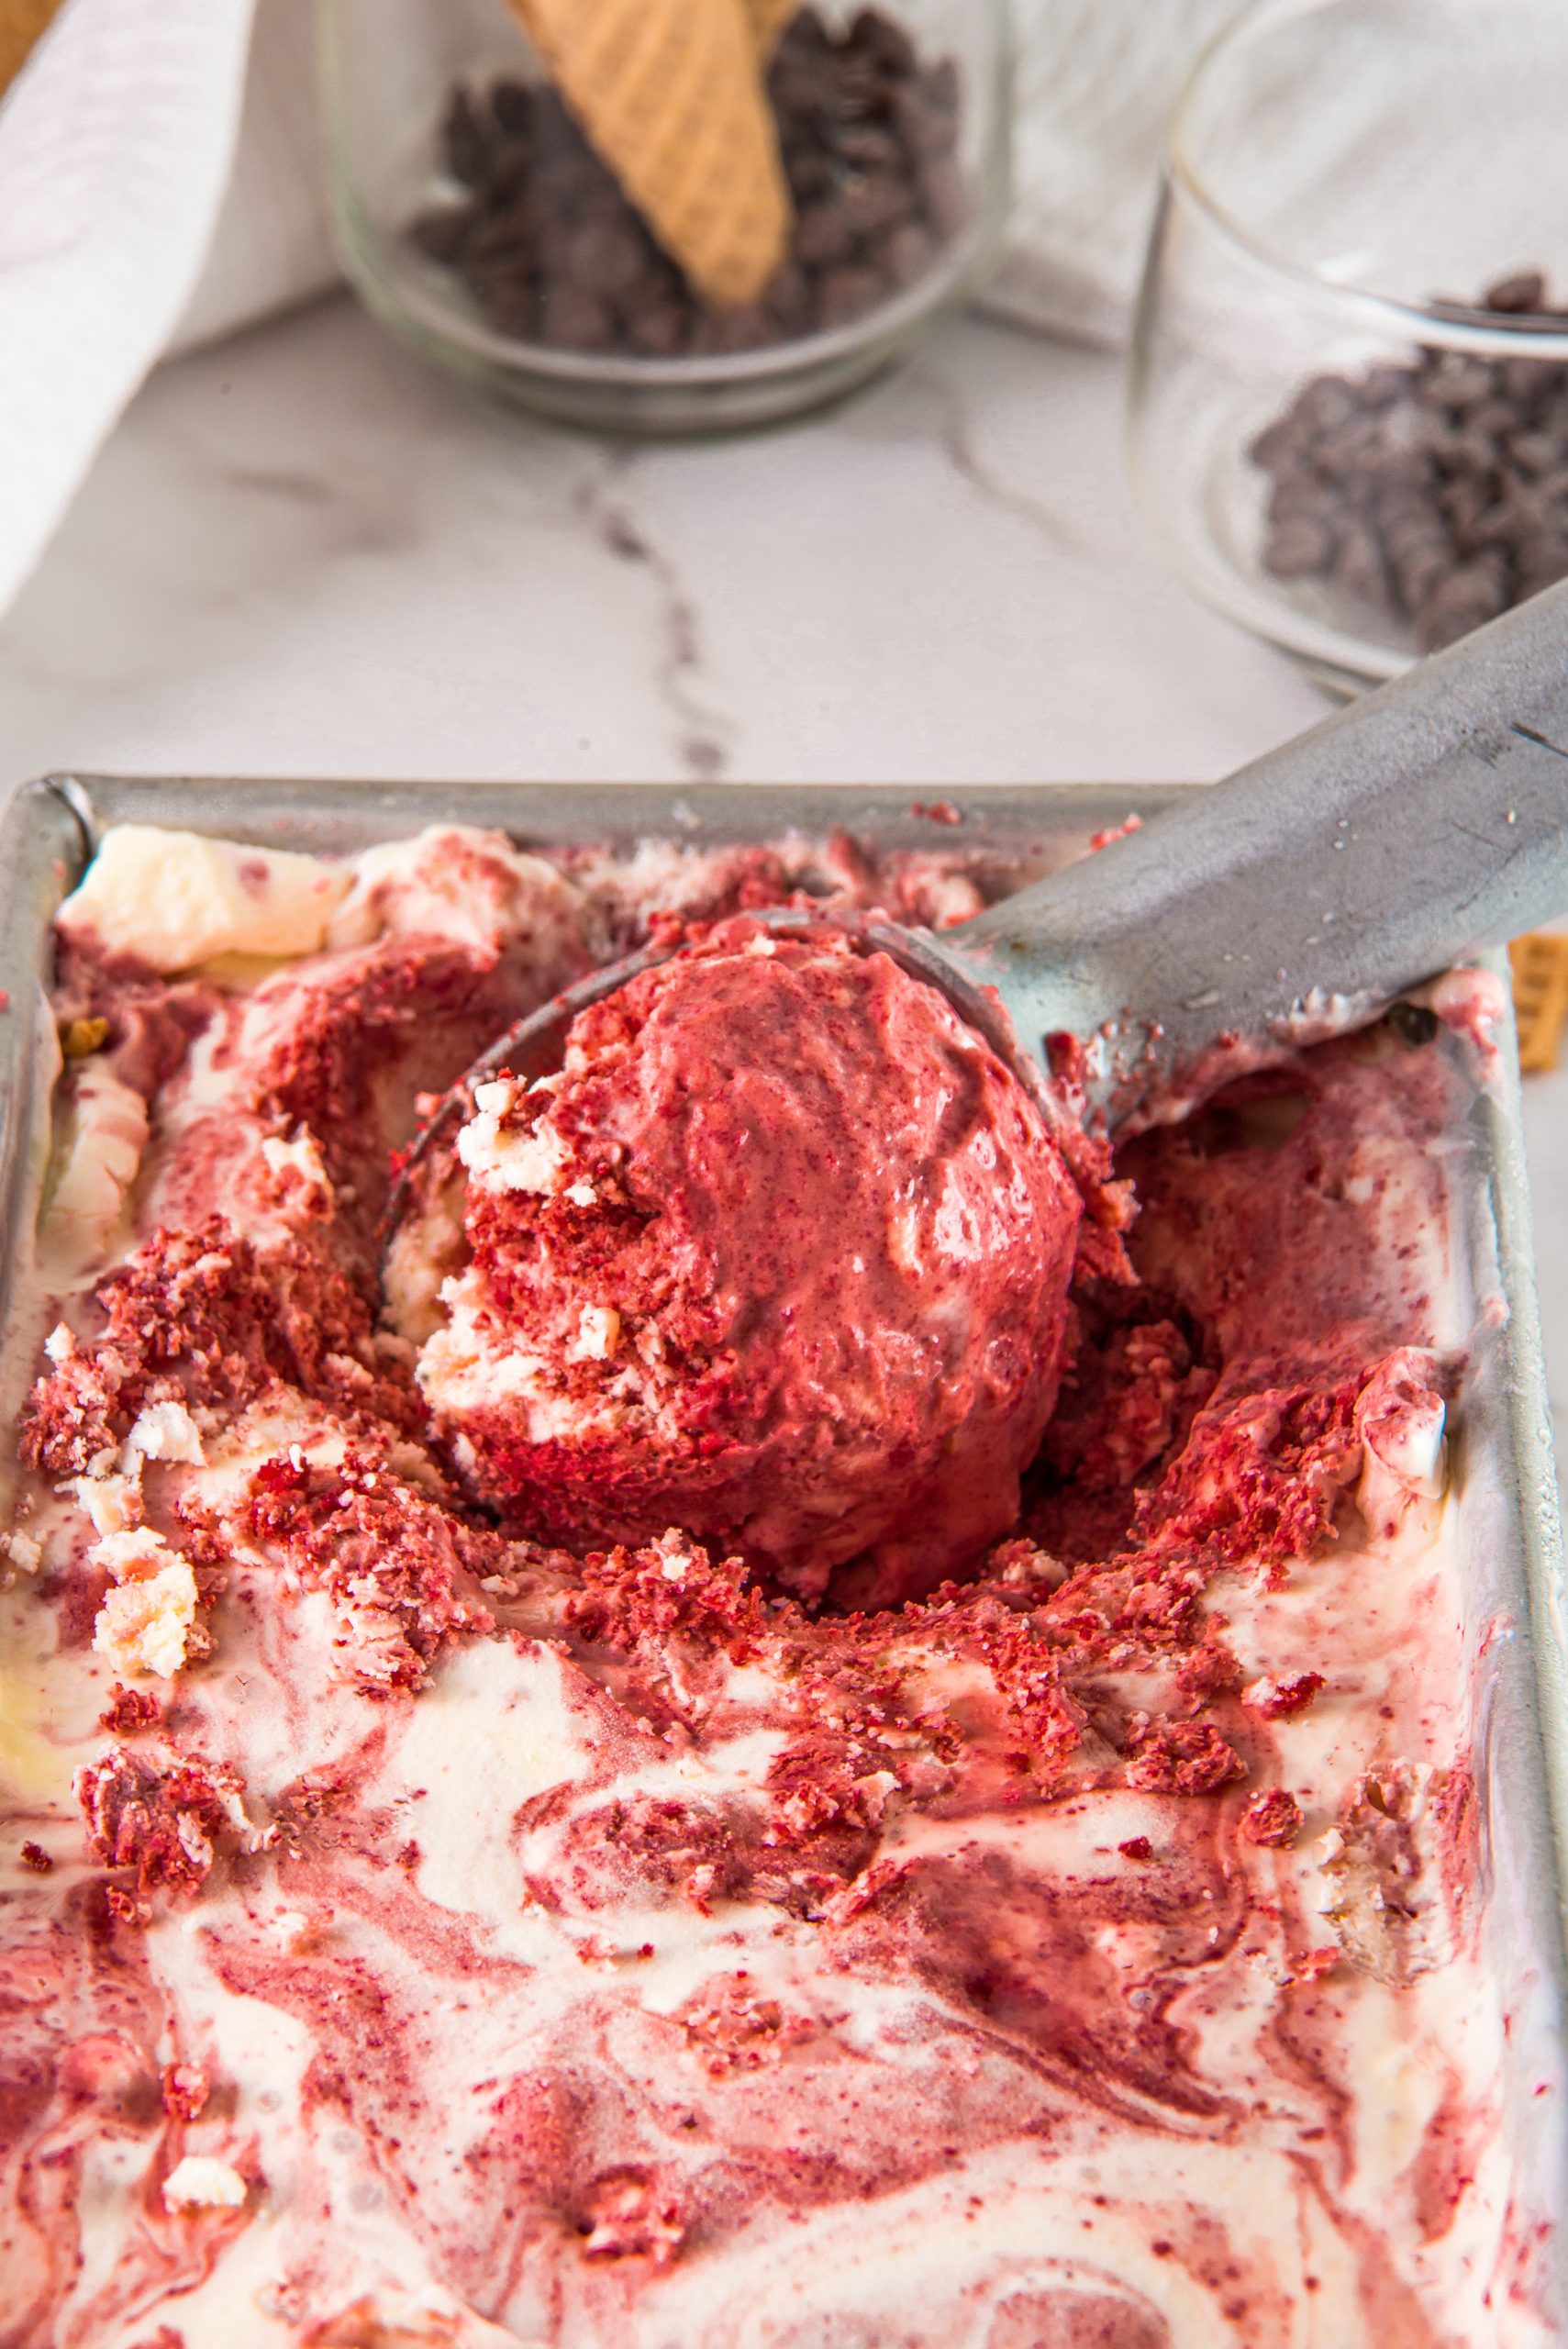
- Colorful, red ice cream looks gorgeous on the table.
- Can be doubled for larger parties.

How to Make the Perfect Red Velvet Ice Cream
Create your cream cheese ice cream. Combine cream cheese, milk, powdered sugar, vanilla extract, and salt together. Whip your chilled heavy cream in a different bowl. You should chill the heavy cream beforehand– this allows it to form peaks. I’ve found that 4 hours is the minimum time required to chill heavy cream. You can optionally chill your bowl and electric beaters for the same amount of time as your cream.
Fold the cream into the rest of the mix, using a spatula. This is what makes the ice cream light and airy! Refrigerate in a glass or stainless steel bowl, and cover with a lid or plastic wrap, to avoid that chalky texture.
Create your red velvet ice cream. Combine heavy cream with powdered sugar, cacao powder, vanilla extract, salt, and red food coloring, beating with an electric mixer until fluffy. Add in your desired amount of red food coloring, and fold in red velvet cake crumbs for texture. Be careful not to overmix! This can create an icy texture in your ice cream. Simply mix until there are no longer lumps or pockets of certain ingredients in your mixture. Going slow aids in this process– it allows you to see the texture of your mixture.
Assemble. Using a medium-sized loaf or freezer-safe pan, alternate between pouring in your mixtures. Swirl into a marble. Be careful not to over-swirl. If you do, the mixture will turn pink! To create the best marble effect, use a “figure 8” shape with the tip of the knife 2-3 times through the length of the pan– no more is needed!
Freeze your ice cream in the loaf pan. Freeze for at least 8 hours directly in the loaf pan, covering with either plastic wrap or a lid, and serve.
Pro Tips for making Red Velvet Ice Cream
- Don’t skimp out on the whole milk. While it may be tempting to switch to a lower-calorie version of ice cream, nonfat milk does not create nearly as creamy of ice cream as whole milk, leading to an icy, inconsistent texture. The fat from whole milk in ice cream is what creates a creamy texture!
- Be sure to let the ice cream freeze for at least 8 hours. Ice cream won’t have time to form in any less than 8 hours. Be sure to cover your loaf pan, and preferably store it on the base of your freezer, as the horizontal surface will allow the ice cream to evenly freeze.
- Store with an air-tight lid. To prevent the ice cream from becoming hard, cover it with a lid in your freezer. Does your loaf pan not have a lid? Try using plastic wrap, but not a dish towel or aluminum foil, as neither of these options keeps air out quite as well as a lid or plastic wrap. This way, the ice cream can last for several weeks!
Key Ingredients and Substitutions for Red Velvet Ice Cream
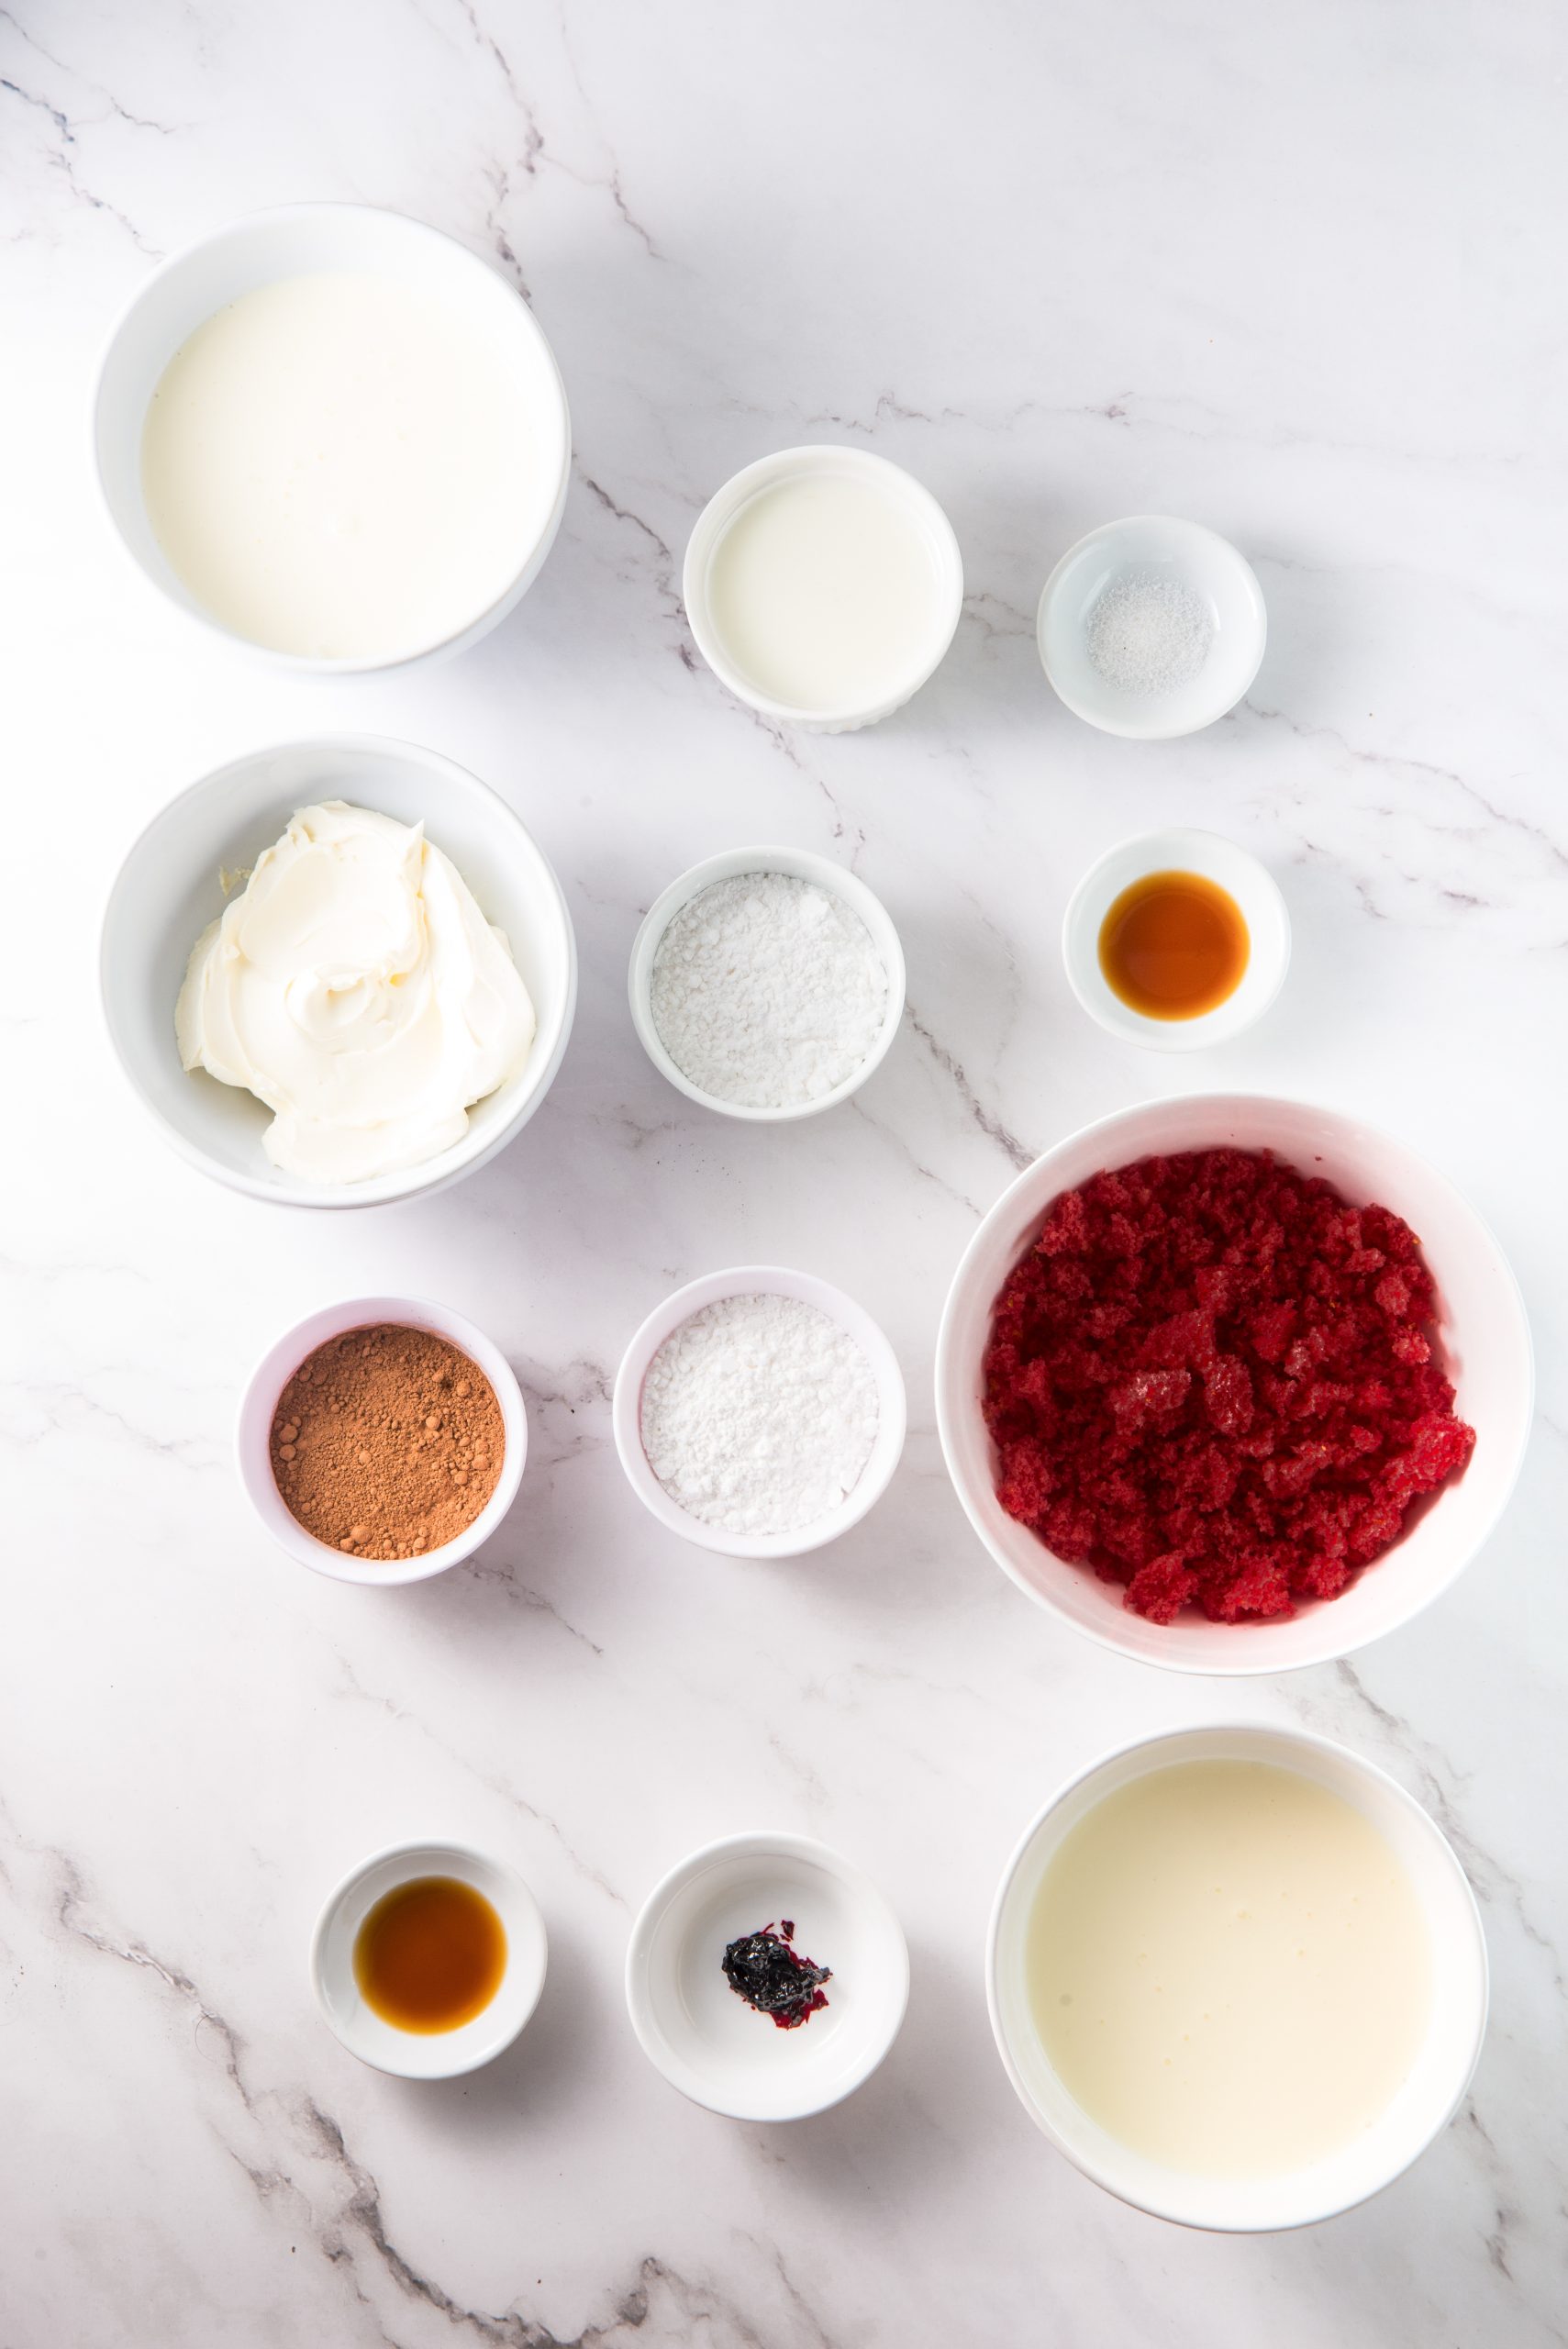
Cream cheese: Be sure to use the full-fat version of cream cheese. Also, allow it to fully soften before starting the recipe.
Red food coloring: You can personalize how colorful your ice cream is by simply adding more or less food coloring to the red velvet ice cream mixture.
Vanilla extract: Substitute almond extract, vanilla paste, or vanilla powder. Note that almond extract will give the ice cream a more floral flavor.
Frequently Asked Questions about Red Velvet Ice Cream
Do I need an ice cream maker for this recipe?
No, you don’t! This recipe can be accomplished with an electric mixer and a minimum 8-hour freeze. For this recipe, the marble effect must be created by hand. Of course, if you wish to use an ice cream maker for this recipe, it will work and store the same, however your ice cream will be pink, rather than red-and-white marbled.
How long does red velvet ice cream keep?
Homemade ice cream can last for 2-3 weeks. You can tell when it is bad when ice crystals begin to form on the surface of the ice cream, even with proper air-tight storage. If your ice cream melts, throw it out. Bacteria can grow during this process.
How is red velvet ice cream best served?
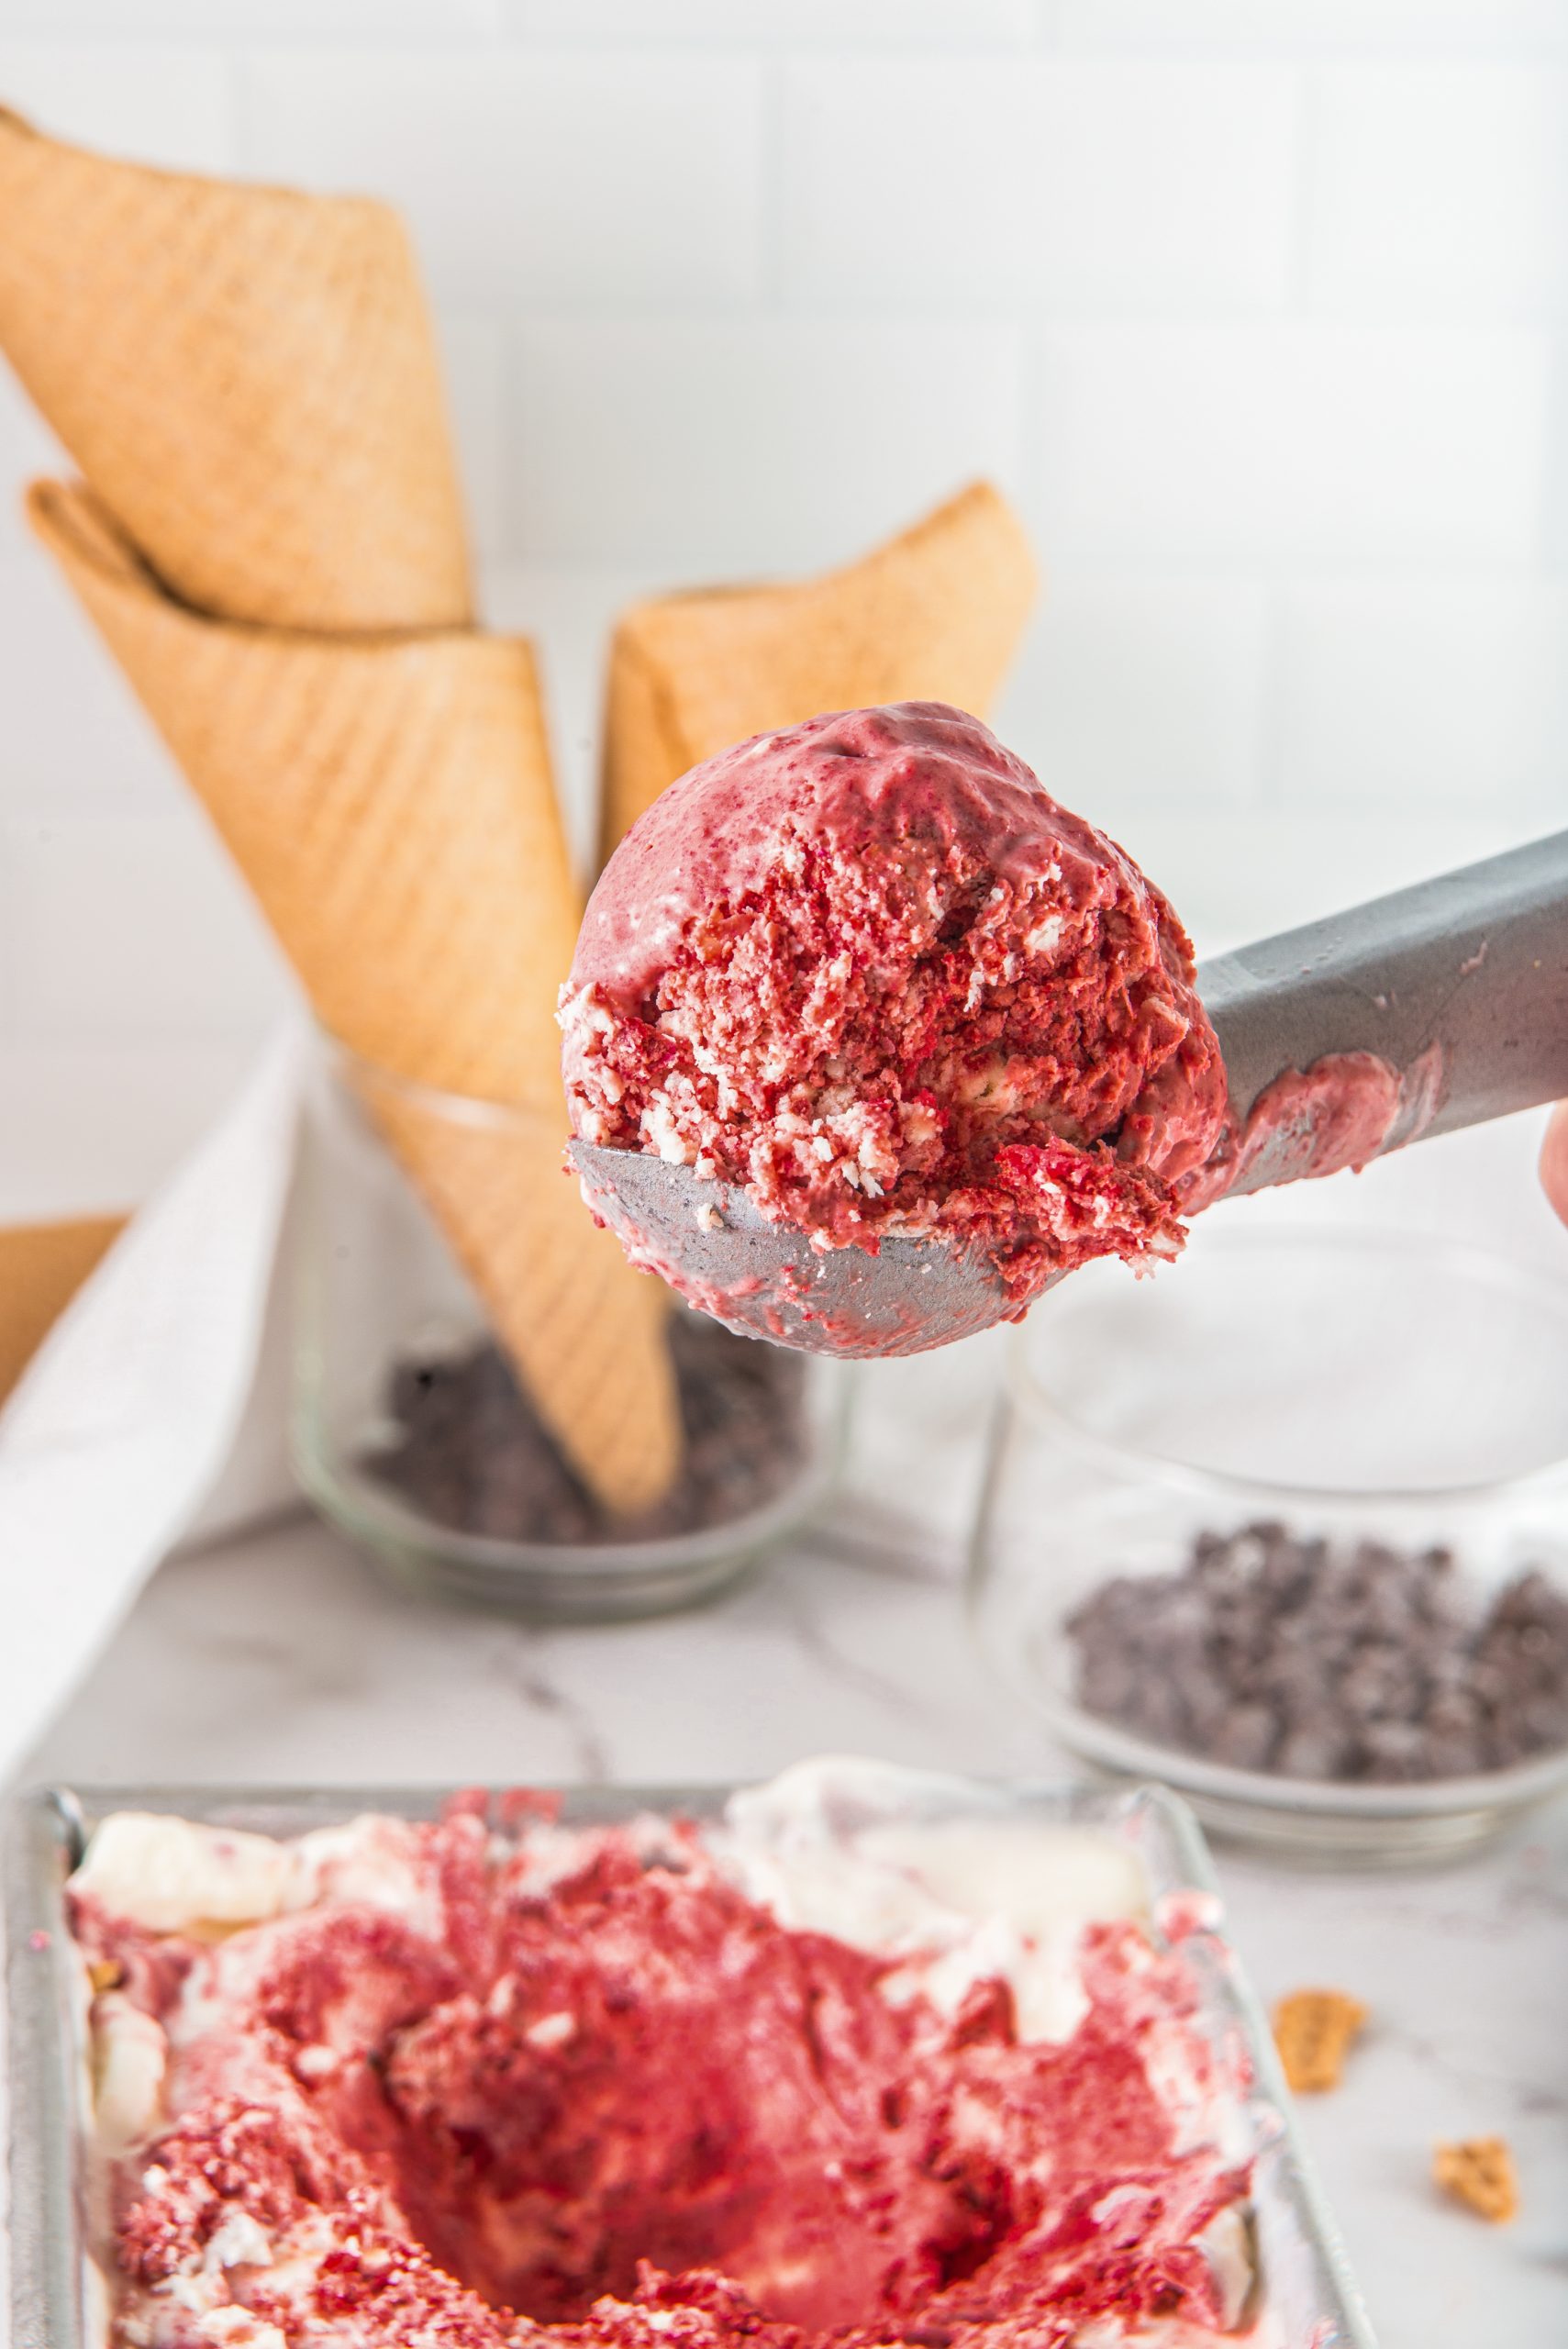
Allow the ice cream to sit for 5 minutes at room temperature before serving to create the prettiest-looking scoop. Strawberries and blueberries, or even chocolate syrup make great toppings!
Red Velvet Ice Cream
Ingredients
Cream Cheese Ice Cream
- 8 oz cream cheese softened
- 1/2 cup powdered sugar
- 1/2 cup whole milk
- 1 tsp vanilla extract
- 1 cup heavy cream cold
- 1 pinch salt
Red Velvet Ice Cream
- 1/4 cup powdered sugar
- 2 tbsp cacao powder
- 1 tsp red food coloring gel
- 1 tsp vanilla extract
- 1 cup heavy cream cold
- 1 pinch salt
- 2 cups red velvet cake crumbs
Toppings
- Red Velvet Cake Crumbs
- Chocolate Chips
- Shaved chocolate
- Ice cream cones
Instructions
- Cream Cheese Ice Cream: place cream cheese, milk, powdered sugar, vanilla extract, and salt in a mixing bowl. Stir until well combined.
- In a different bowl, whip heavy cream until light and fluffy. It's crucial to refrigerate the cream beforehand, as cold cream whips up more easily. You can also place the bowl and beaters in the refrigerator for a few minutes to ensure they are chilled.
- Gently fold the whipped cream into the cream cheese ice cream mixture. Use a spatula or a whisk to combine the two components carefully. This step ensures a light and airy texture in the final ice cream. Once mixed, refrigerate the ice cream base while you prepare the red velvet mixture.
- To make the red velvet cream, mix heavy cream with powdered sugar, cacao powder, vanilla extract, salt, and a pinch of red food coloring. Beat with an electric mixer until fluffy. Adjust the red food coloring to achieve the desired shade of red, and add some texture by gently folding in red velvet cake crumbs with a spatula. Be cautious not to overmix, as you want to maintain the whipped cream's structure.
- Assembly: Choose a medium-sized loaf pan or a similar freezer-safe container to assemble the ice cream. Alternate adding scoops of the cream cheese ice cream mixture and the red velvet cream mixture. Using the tip of a knife, gently swirl the two mixtures together to create a marbled effect. This step adds visual appeal and combines the flavors beautifully.
- Cover the container and freeze until firm enough to serve, at least 8 to 10 hours or overnight.
- Serve the ice cream in individual bowls or ice cream cones.
Notes
- Freezing: Once assembled, cover the container with a lid or plastic wrap to prevent ice crystals from forming.
- When serving, consider garnishing with additional red velvet cake crumbs, a drizzle of chocolate sauce, or a dollop of cream cheese frosting for an extra touch of indulgence.
- Storage: If there are any leftovers, store the remaining red velvet ice cream in an airtight container in the freezer. Properly stored, it can last for several weeks, though the texture may become slightly harder over time. Simply allow the ice cream to soften for a few minutes at room temperature before serving again.


Leave a Reply