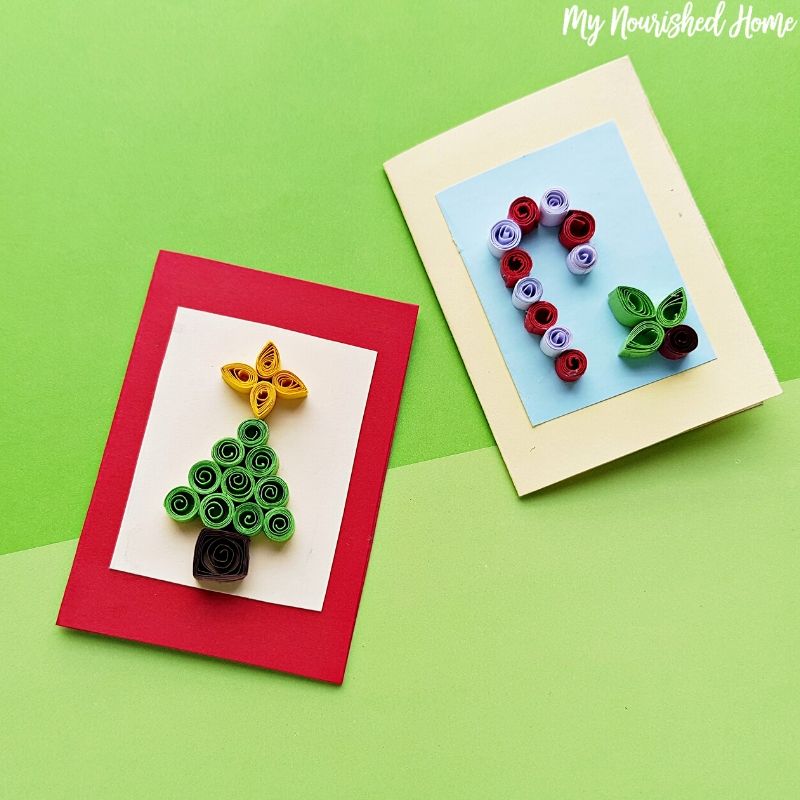
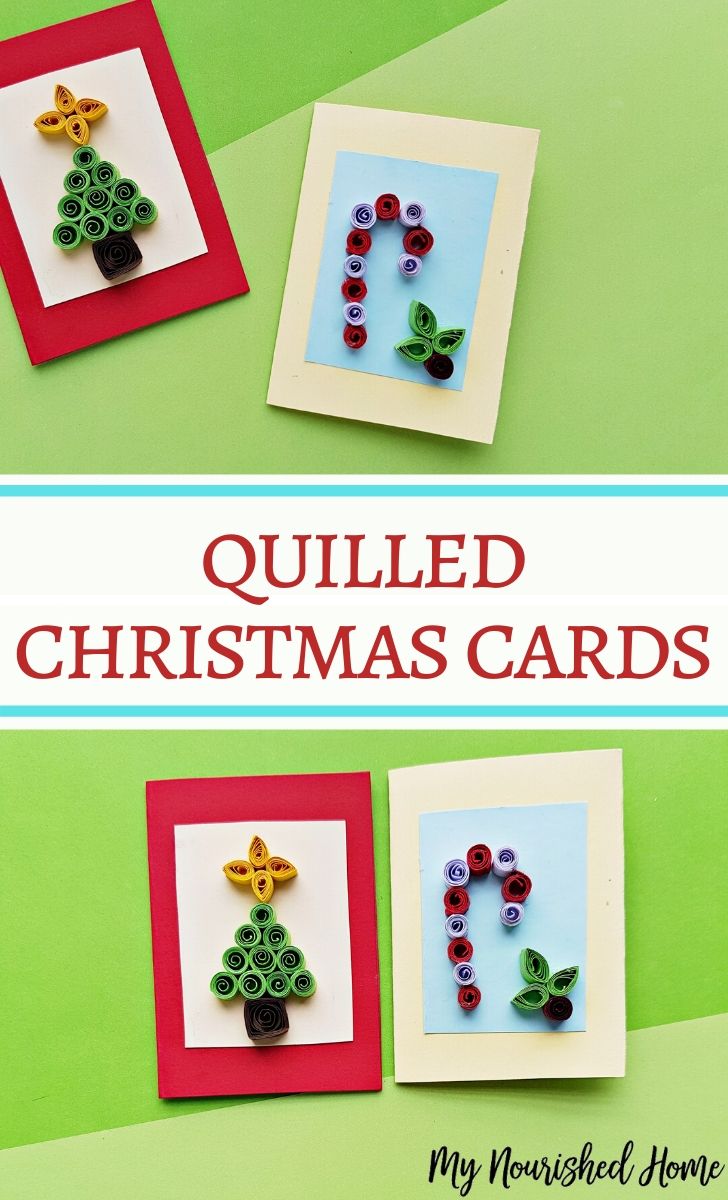
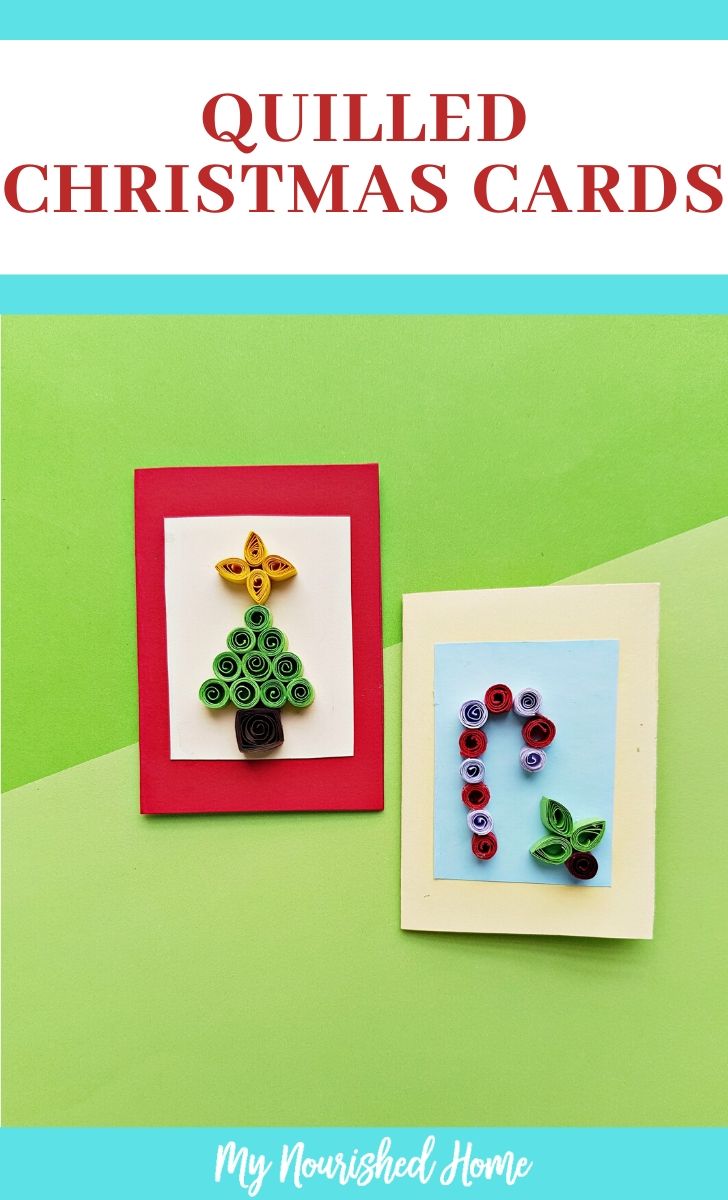
Christmas is just around the corner and with that comes the need to make some holiday cards. This quilled Christmas card craft is a great craft idea for kids and adults. Now you can make your own Christmas cards without spending a fortune. In a world where technology streams every location we go, it’s nice to send out homemade Christmas cards to family and friends.
What is a Quilled card?
Not familiar with what a quilled card is? A quilled card is a form of art that uses strips of paper that are rolled, shaped, and then glued together create a beautiful quilled Christmas card craft. There are many designs you can make for your quilling card, but today I’m featuring a step by step tutorial to make a quilling card for the Christmas season.
Is Quilling easy?
Many people have asked if quilling is easy, and I have to say that it is easy. This quilled Christmas card craft is perfect for kids of all ages, some may need adult supervision. With my easy to follow instructions, anyone can make this Christmas card craft. It’s best to use a sketched outline of what you want to fill the paper art in. Having a quilled Christmas card craft theme to fill in with your rolled cardstock will allow you to make a beautiful piece of water with ease.
Another term for quilling is paper filigree. This refers to the process of rolling or folding the cardstock to make your design. Each of the quilling designs we’ll make today feature coiling the paper quilling strips into loose coils. While you will need a little skill to roll the paper into the shapes you desire for this quilled Christmas card craft, you’ll find that you master the skill of quilling paper quickly.
Tip: I love using the slotting quilling tool to make this process easier.
As you finish your coiled paper, you’ll glue the cardstock coils to their designated spot on your paper. These cards will need to dry before you proceed to write a seasonal greeting on them. You can send these Christmas cards to friends or family this holiday season or use them as seasonal décor during the Christmas season.
How do I make a quilled Christmas card?
Scroll down to find the list of supplies that you’ll need to complete this quilled card. You can exchange the color combinations of the cardstock to suit your own preferences. As you work to fold the paper, please follow all instructions closely so that you’ll be one-hundred percent satisfied and confident with the results of your card.
I prefer to print the instructions while I am working but find that the printed photo tutorial below really helps kids!
Looking for More Christmas Crafts?
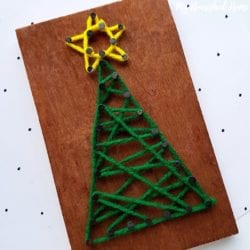
We use these Gingerbread House Gift Bags for our neighbor and teacher gifts. We made these String Art Christmas Trees for grandparents and the decor in our house!
Quilled Christmas Card Craft
Ingredients
- Paper quilling strips
- Slotted quilling tool
- Cardstock paper
- Scissors
- Craft glue
Instructions
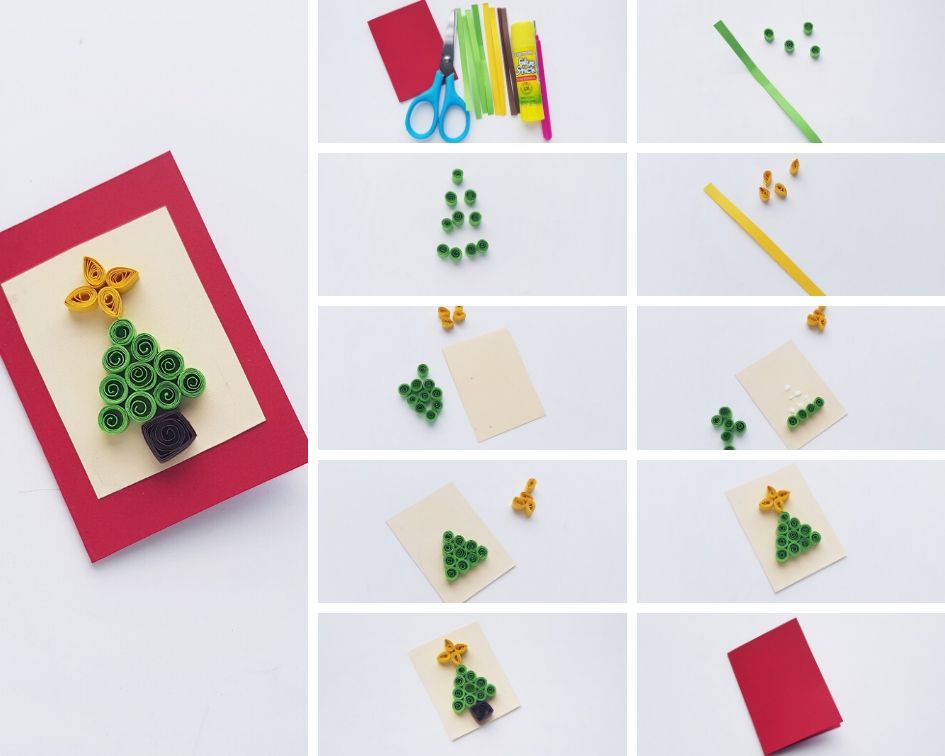
- You can sketch simple outlines for the quilled patterns. To make the quilled Christmas tree I’m using 10 loose coils, 4 teardrop shapes, and 1 square shape. Select green colored quilling strips and prepare them all into the same size. Use the green strips to make loose coils.
- Try to keep the size of the green loose coils as even as possible.
- Grab 4 yellow colored strips for the star. Or you can select any colored strip as you want. Use the yellow strips to make teardrop shapes.
- Done making the teardrops? Prepare a piece of cardstock paper into any size you want but make sure that the quilled art would fit nicely on it.
- You can either apply glue on the cardstock paper or apply glue on the backside of the quilled pieces. To create the tree pattern I’m attaching 4 loose coils on a row near the bottom side of the cardstock paper.
- And then I’ve attached 3 loose coils to the next row on the top of the bottom one. For the third row, I’m using 2 loose coils and then finally 1 loose coil on the top.
- Attach the 4 teardrops on the top end of the quilled tree. Use the 4 teardrops to form a 4 point star.
- And lastly, prepare a square quilled piece from a brown colored quilling strip and attach it on the bottom side of the quilled tree.
- Select a colored cardstock paper of your choice and prepare a card from it. The card should be at least a cm bigger on all sides from the quilled art cardstock paper.
- Attach the quilled art cardstock on the front side of the card. Allow the glue to dry.
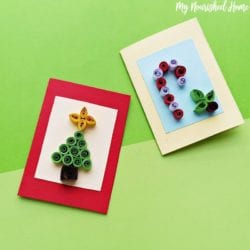
- You can create more simple quilled patterns and make a card with them.
Leave a Reply