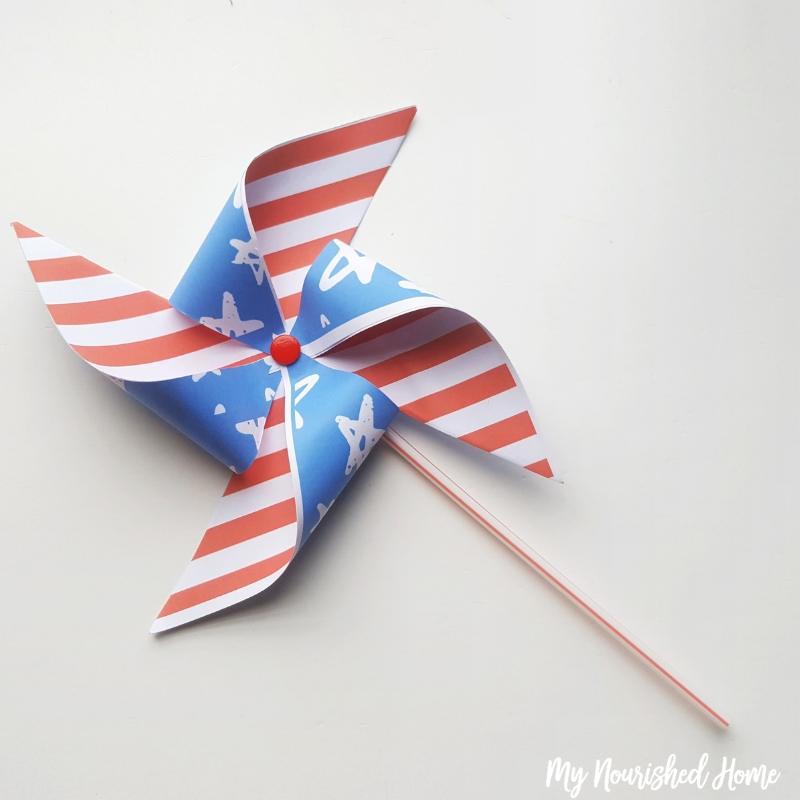
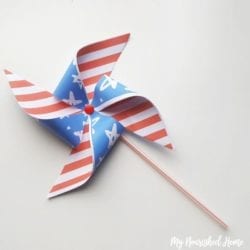
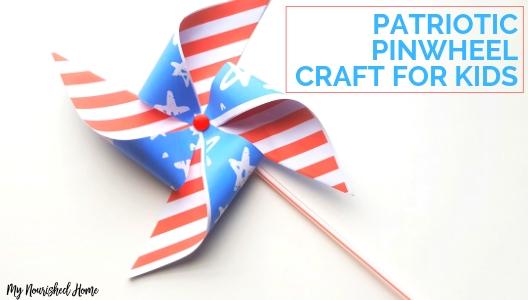
Learn how to make a paper pinwheel with this easy patriotic pinwheel craft for kids.
All three of my kids love crafting together. I have had to get a bit more creative in the projects we tackle over the last year or so because their skills are improving! This Fourth of July Pinwheel Craft is challenging enough for kid crafters but still easy enough for Elementary school kids.
So grab your craft supplies and the DIY pinwheel tutorial below and you’ll be ready to celebrate our most patriotic holiday!
How to Make a Pinwheel
Every year we celebrate the Fourth of July holiday at a beach near our house. (Yay coastal living!) There is always a parade through the city and big fireworks show off the pier. It is a lot of fun to see so many families spending time together… And all the kids have fun parade goodies to wave around and play with.
Last year, our kids found plastic pinwheels at a local store and just had to have them to take to the parade and then to the fireworks show.
This year, we decided to make pinwheels to take with us… because they love crafts and I love keeping them busy and off the television and computer! Since these easy paper pinwheels are simple to make, we’ve actually made quite a few to share already!
Gather your craft supplies! The fun this about this pinwheel craft project is that it doesn’t take complicated or expensive supplies. If you have kids and a craft supply drawer (I have a room!) you probably already have these supplies on hand. All you need is:
scissors,
a brad,
glue or a glue stick,
drinking straw
plain craft or printer paper.
Love the pattern on the Patriotic Pinwheel in the photos? Grab the pinwheel pattern template for this post in our Premium Crafts for Kids page.
Get the Free Paper Pinwheel Template
To grab the free Pinwheel template, you just need to grab the password for our Premium Crafts for Kids page. You only need one password to access all of the kid’s crafts templates on this site (a growing number!)
So drop in your best email in the box below and we will send you the password. Remember the password is case sensitive! If you have any issues, feel free to email me and I will make sure you get what you need!
Don’t forget to check back for more Kid’s craft templates! We’re adding all the time.
Easy Paper Pinwheel Tutorial
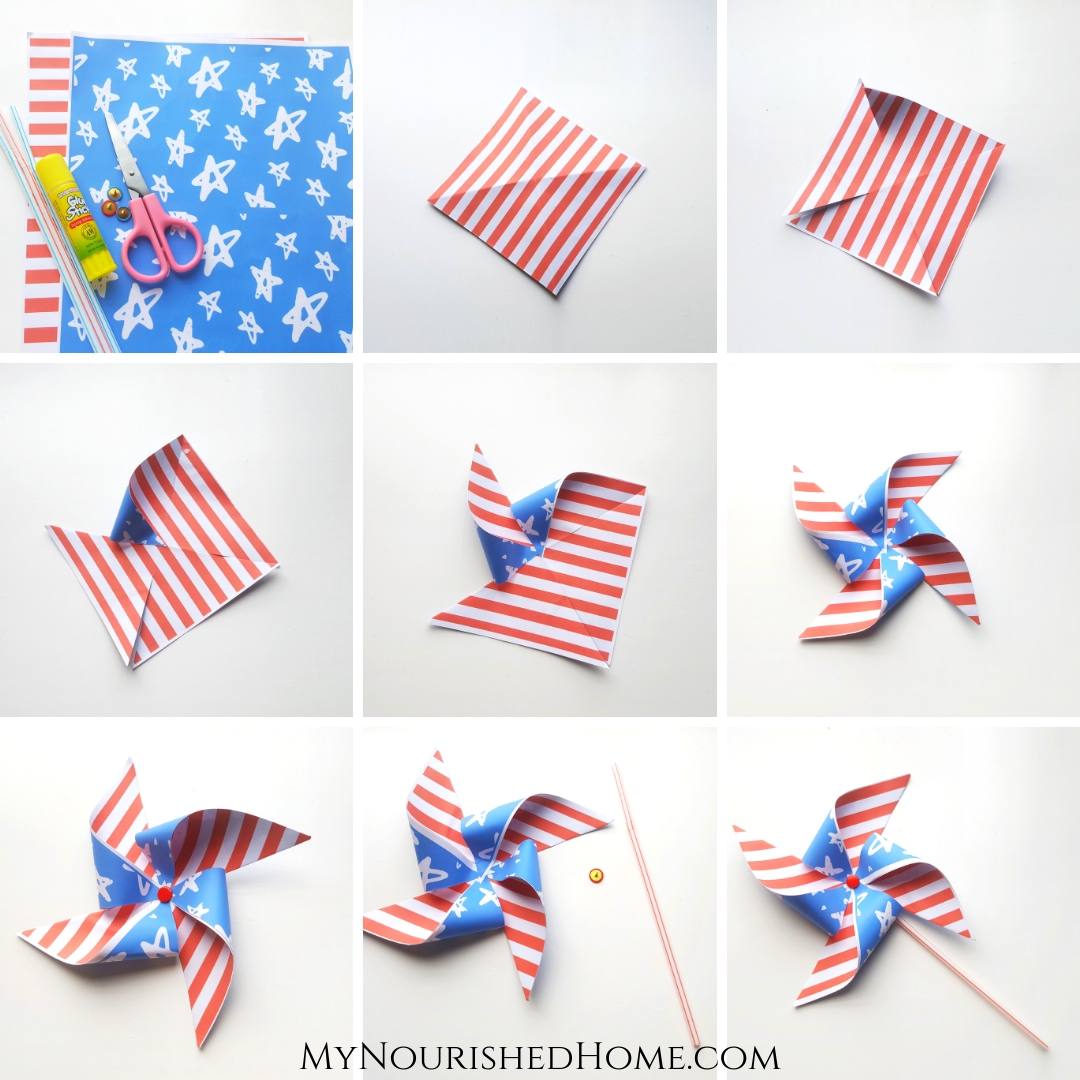
Once you have all of your craft supplies, you can follow the images and the written instructions below to make an easy paper pinwheel craft with your kids!
My kids really prefer the step-by-step images to follow along as they work. Personally, I need the written how-to instructions below!
Depending on your home printer, you can either print the pattern in the template front and back on the same page, or you can print 2 pages and glue them together. If I am using heavier paper, I prefer the 2 sided option. But sometimes you just gotta make a pinwheel and all you have is printer paper… 2 sheets glued together works just fine. 🙂
4th of July Patriotic Pinwheel Craft for Kids
Ingredients
- A4 size regular paper
- Scissors
- Glue
- Brad
- Drinking straw
- Paper patterns
Instructions
- Print out the provided template patterns. Print both sides of the same paper or
attach 2 printed papers together on their blank sides. - Cut the printed papers into squares. Fold the square paper into half diagonally
crisscross wise to create crease lines. - Cut slits along the crease lines. Cut the slits 1/3 of the way from the
center. - Each slit will have 2 open corner ends on both sides. Hold and bring any
one of the open corner points towards the center and apply glue to secure its
position on the center. - Skip the open-end corner next to the center folded corner. Now, bring
the next corner towards the center. - Repeat the process until all 4 open ends are drawn into the center. Apply
glue to secure the paper pin wheel pattern. - Grab the straw, brad, and paper pinwheel. Place the brad through the center of the pinwheel.
- Place the drinking straw on the back side of the paper pinwheel, and
carefully pressing it into the brad on the back side. Apply a small piece
of sticky tape to secure the pointy edge of the brad on the back side.



Leave a Reply