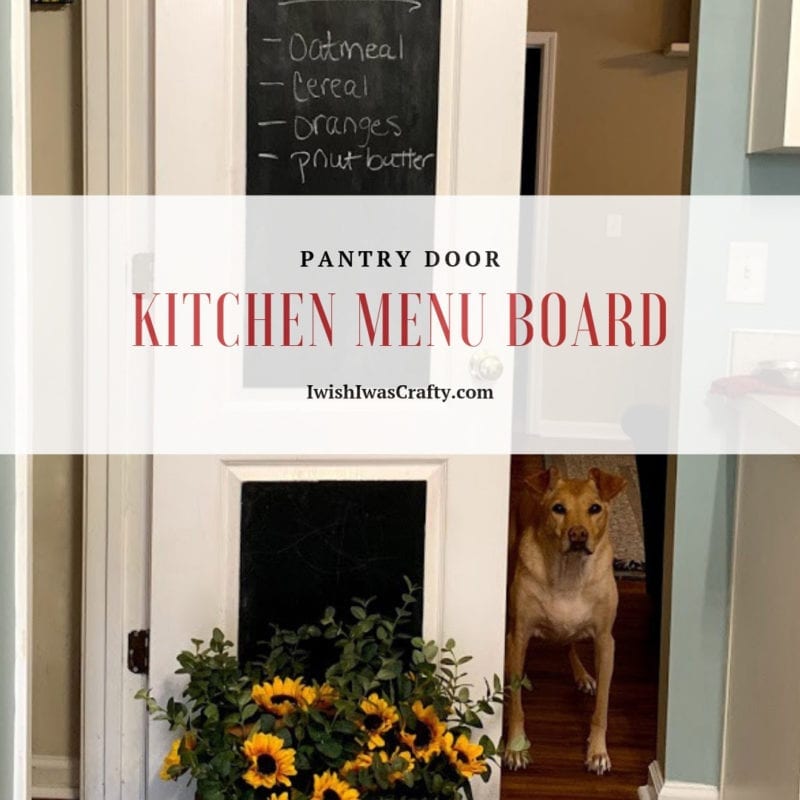
A kitchen menu board is a lifesaver when you have a big family that is always on the go. We turned the inside of our pantry door into a chalkboard to help with menu planning and shopping list additions.
Kitchen Menu Board
With three kids with different schedules and different extracurricular ideas, we spent a good long time feeling overwhelmed about menu planning and grocery shopping.
It is often a toss-up as to who gets to the kitchen first during the week to start dinner. But having a simple menu plan let the first person to the kitchen have a plan for what to prepare. Our family rules are that everyone helps until the work is done. So if the recipe was in the menu plan, that means that we have all the ingredients and anyone old enough can start dinner.
You can find other helpful ways to organize your pantry here.
Chalkboard for Grocery List and Menu Planning
I’m not going to lie, grocery shopping was also a chore. The first thing that would happen after shopping for the week, is my kids would point out what I forgot to buy. It was inevitably something I had no idea we were out of in the first place.
It was time for everyone to take some responsibility. First, dinner was mapped out for the week on the board so EVERYONE knew what was coming for the week. Then, if you took the last of something, you added it to the shopping list on the chalkboard inside the pantry door.
It was perfect – taking things out of the pantry, write it on the way out. And if you forgot to add it to the list, you lost the right to complain about it not showing up in the next grocery store run.
How to Make a Kitchen Menu Board on Your Pantry Door
This is so simple, it is an easy weekend project for anyone. You don’t have to be crafty – or particularly handy to get it done.
- First, sand the door in the places you want to apply the chalkboard paint. You can just sand by hand if you like. It doesn’t have to be completely slick unless you prefer it. You just want to give the paint something to stick too.
- Wipe down the door with a wet cloth to get rid of any dust. Then let it dry completely.
- Tape off the area where you want a chalkboard with painters tape.
- Use even strokes to apply chalkboard paint to the door. Add 2-3 coats based on coverage, letting the coats dry between applications.
- Remove the painter’s tape and touch up any edges.
- We used a mini sink caddy (that would normally hold a sponge at the kitchen sink) to hold chalk and an eraser.
- Periodically, you will need to wipe down the menu board with a wet cloth to get it completely clean.
Enjoy! Looking for other sign ideas? Check out these Farmhouse signs!


Leave a Reply