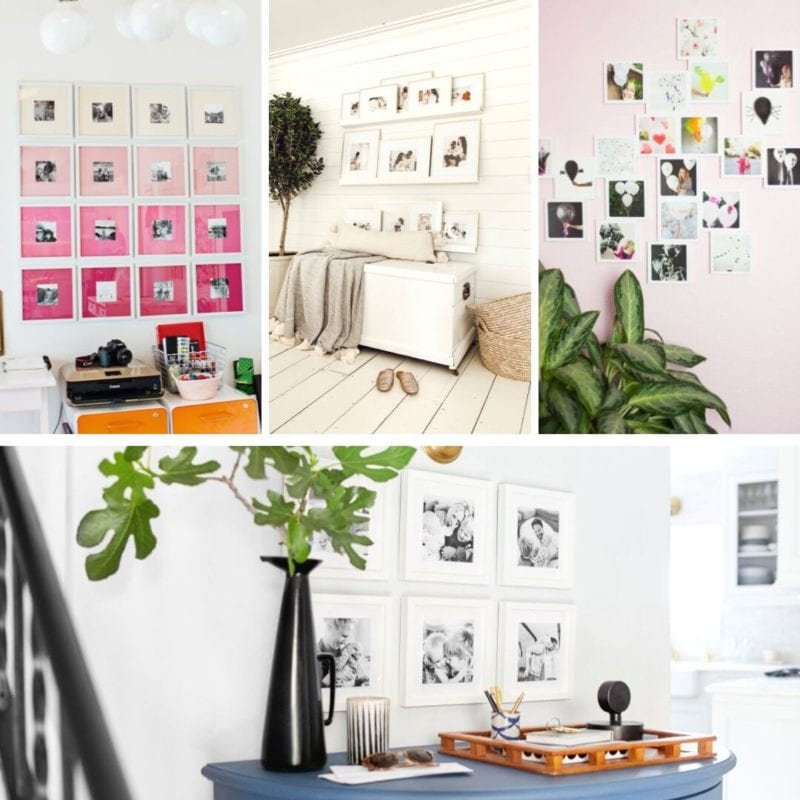
Learn how to make a gallery wall with this DIY tutorial and loads of great examples. Warm-up your home and make it uniquely yours with a coordinated collection of family photos, meaningful pieces, or an eclectic grouping of beautiful decor.
How to Make a Gallery Wall
Why are gallery walls popular? It is easy to see why… they are a wonderful way of infusing your personality into a room. No more clinical feeling white walls, a statement wall can add color, texture, and visual interest to an otherwise empty space.
Gallery walls also become a centerpiece for conversation when guests and family come to visit. And if your house is like mine, a point of pride for kids when their faces make the photographs in the family shrine.
Step one – put down your hammer. You need some planning before you start hanging.
My recommendation? Start with your favorite family photos. Think about not just the professional photos, but the candid ones that made you laugh, the ones that struck an emotional chord, the ones from your favorite trip together. Look through your photos for the unexpected joy.
Create a Gallery Wall Theme
Once you’ve decided which photos you want to include, look through them to note shared colors. Are the colors all bright? Are they matte tones? Do you think all the photos would look good in black and white?
- You can choose frames, matting, and textured pieces to hang with your gallery wall to bring out these common colors.
- You can also use frames and matting that fit the theme of your home. Will the photos look good in your rustic, farmhouse-themed home? Or are they more industrial? Or boho-styled?
What else is shared in the photos? Shapes? Personality? Do they all look industrial or outdoorsy or are they all taken at home? Is there enough in common that the photos will look good together or do you need to remove a photo and add something else in its place?
Once you’ve determined your photos, colors, frames, and how to make the gallery wall fit into the theme of your home, start looking at other items you want to include in your display.
What Else to Include in Your Gallery Wall
Photos are usually the centerpiece of a gallery wall display – but they don’t have to be the only meaningful pieces. Think of items you own that really inspire and speak to you.
- Recipes that are written in your grandmother’s handwriting
- Sketches created by your oldest child. <— my oldest daughter is 20 and is an amazing artist.
- A blown-up excerpt from a love letter exchanged between your parents.
- Your father’s hammer
- Your mother’s lace handkerchief
- The china your father sent your mom from Vietnam before they married <— This one is personal for me!
- Your favorite collectible plate from your grandma’s collection. <— did everyone else’s grandma have a collection too?
Be creative and make a list. What would you love to look at every day that currently sits in a drawer or is locked in a box because you don’t have the right safe place to display it?
When you know what you want to display, is it safe to display those things on the wall as it? Or do they need to be framed? For example, my father’s hammer would be just fine on the wall. My daughter’s sketches and my grandmother’s recipes need to be framed to be protected.
Round out your Spaces and Create your Shape
By now, you’ve started to imagine what your gallery wall will look like. Start laying it out on the bed or a large table, even the floor. (Unless you have kids… then scratch the floor idea!)
Do these photos and sentimental pieces look good together? Do the frames look coordinated?
How do you decide where everything will go?!
I like to work from the focal point which should be around the center and work my way out. You will certainly want to make sure all of your pictures are perfectly level (grab the level from your garage!) But you don’t necessarily need your frames to line up perfectly straight across the top or bottom – though that can look very cool if you are just using the same size photos and frames.
If you are using mixed media and different shapes and textures, think of your wall like a grid and work where your grid pattern intersects.
Don’t know what I mean? Think of this image on your wall. 👇👇👇
Now instead of centering things in the squares, create visual interest where the lines cross. That keeps things from being too uniform and too “matchy-matchy.” Keep in mind that some items may take two squares or three… So add your smaller pieces at the cross-sections around the bigger pieces. Make sense?
As you consider how your pieces should be placed, you may find you need to “fill in” or round out some empty spaces to get the tight, coordinated look you want. That’s okay! Think greenery, sconces, cool shapes that fit your theme (arrows are so trendy right now.)
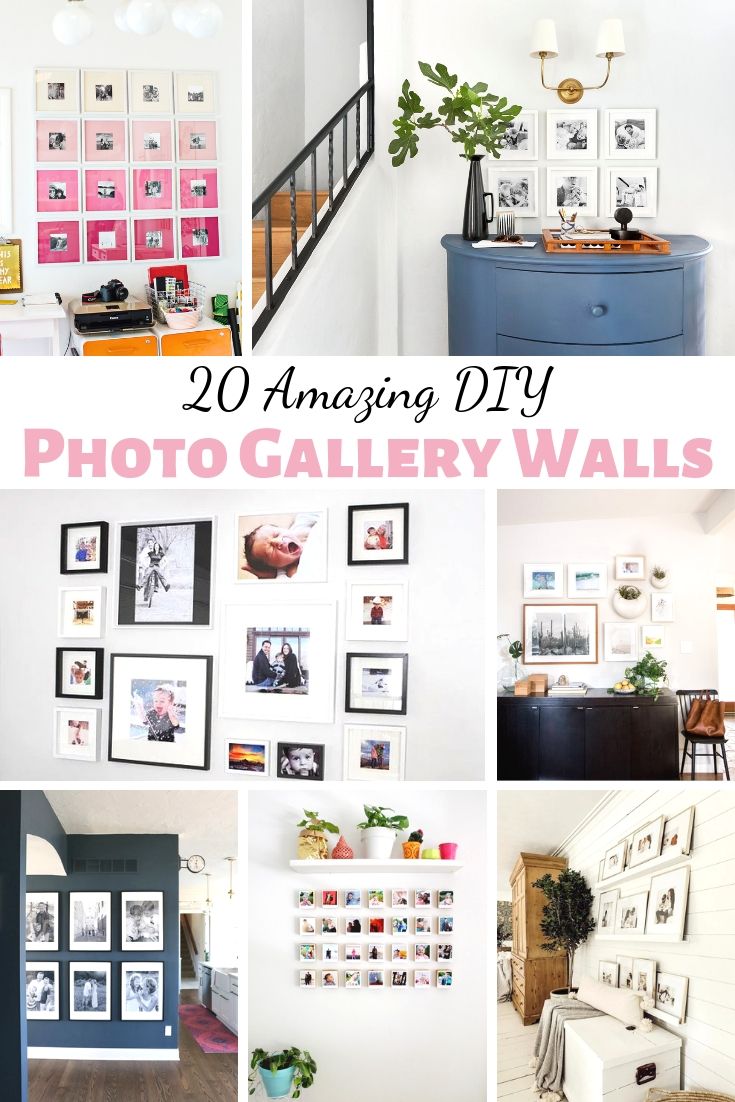
Need Lots of Ideas for a Statement Wall? Try these!
- DIY Gallery Wall With Family Photos from stylebyemilyhenderson.com
- Living Room Gallery Wall from lovegrowswild.com
- Ombre Gallery Wall from abeautifulmess.com
- Dining Room†Photo Gallery Wall from hitherandthither.net
- Creating A “Frame-worthy” Photo Gallery Wall from maisondepax.com
- Photo Gallery Wall from cleanandscentsible.com
- DIY Corner Gallery Wall from cherishedbliss.com
- Floating Gallery Wall from kristimurphy.com
- Giant Family Gallery Wall from abeautifulmess.com
- DIY Photo Gallery Wall from graceandgoodeats.com
More Great Ideas for Photo Walls
- DIY Picture Ledge Gallery Wall from lizmarieblog.com
- Large Photo Gallery Wall from sincerelysarad.com
- Make An Inexpensive DIY Gallery Wall from knickoftime.net
- Easy DIY $50 Gallery Wall from blog.jennasuedesign.com
- DIY Gallery Wall†With Cut It Out Frames from cherishedbliss.com
- The Easiest Photo Wall Ever from designimprovised.com
- DIY Photo Gallery Clipboard from damasklove.com
- Instagram Polaroid Block Gallery Wall from ajoyfulriot.com


Leave a Reply