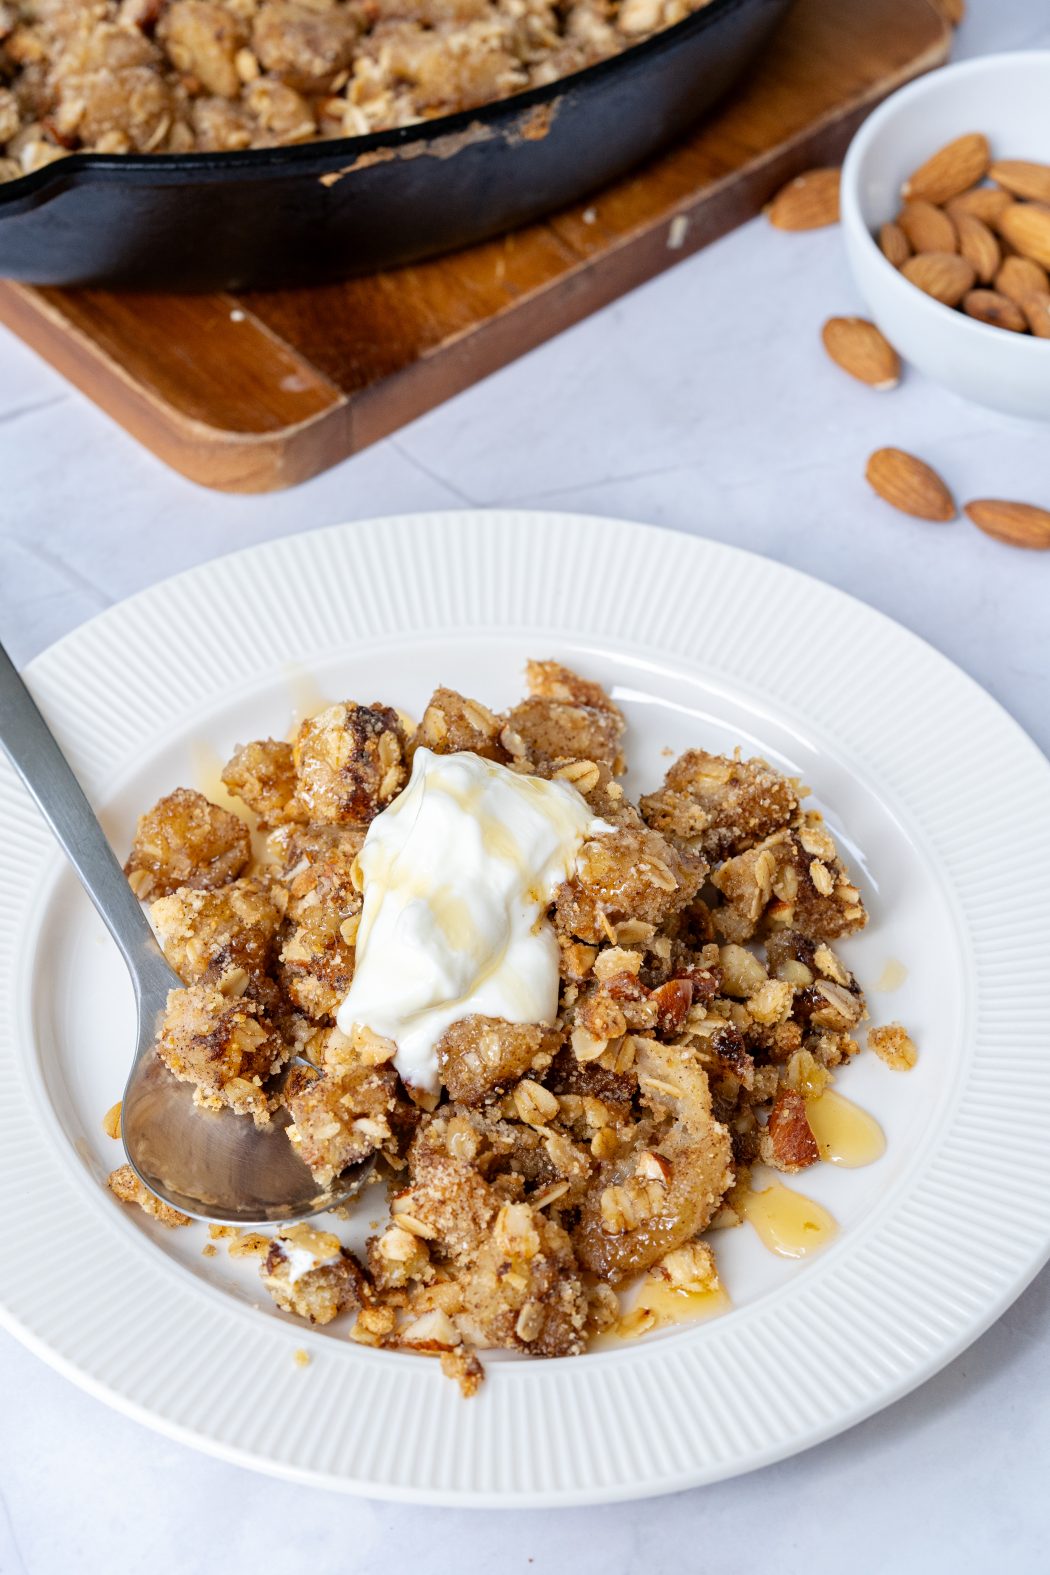
My healthy apple crisp features juicy red apples, aromatic spices, and a deliciously crunchy, nutty oat topping. It’s the perfect addition to any breakfast, brunch, or dessert menu!
Healthy Apple Crisp
This healthy apple crisp is my go-to recipe when I am craving something sweet and comforting but still want to keep things light and fresh.
Made with fresh, juicy apples, warming spices, and a handful of other simple, whole ingredients, it delivers all the sweetness nature has to offer, without any of the yucky stuff. There are no added sweeteners and no artificial ingredients of any kind.
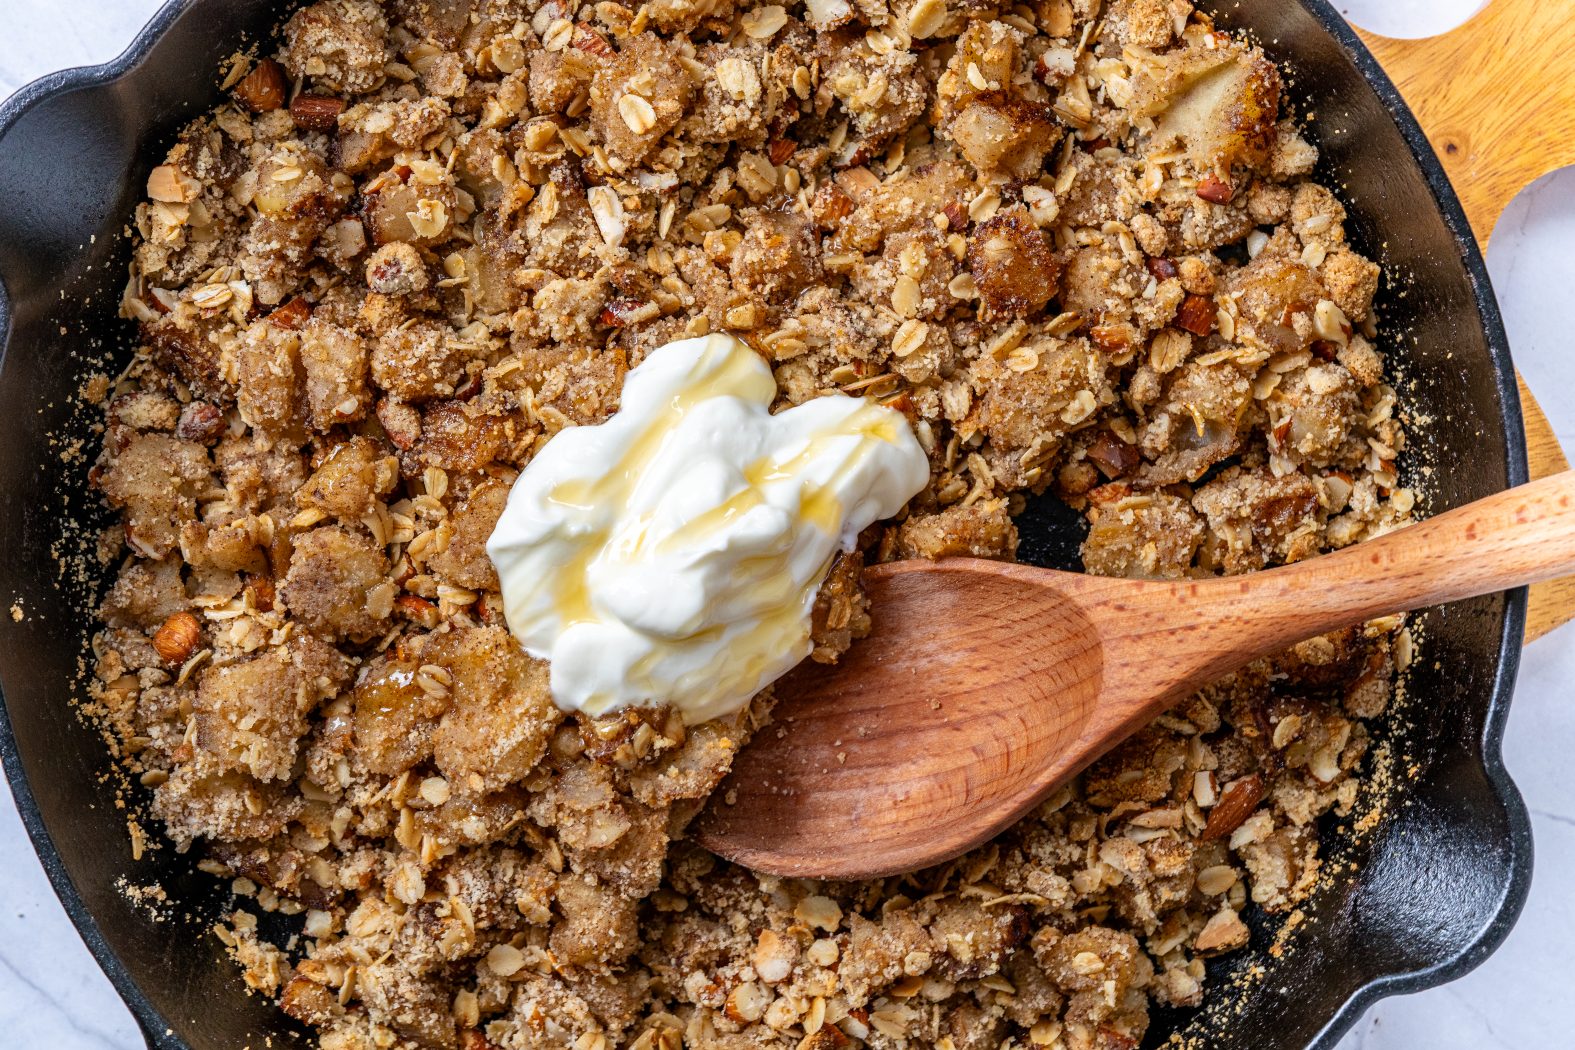
This healthy apple crisp recipe always hits the spot, and with a dollop of plain or vanilla Greek yogurt, it makes a dynamite breakfast or brunch item. When I’m feeling a bit more decadent, I add a scoop of ice cream and call it dessert. Win win!
If it’s apple season, I’m usually making several apple recipes at once. A few of my other favorites include my Apple Crisp Cheesecake Bites, Apple Pie Bread, and Apple Pie Cookies.
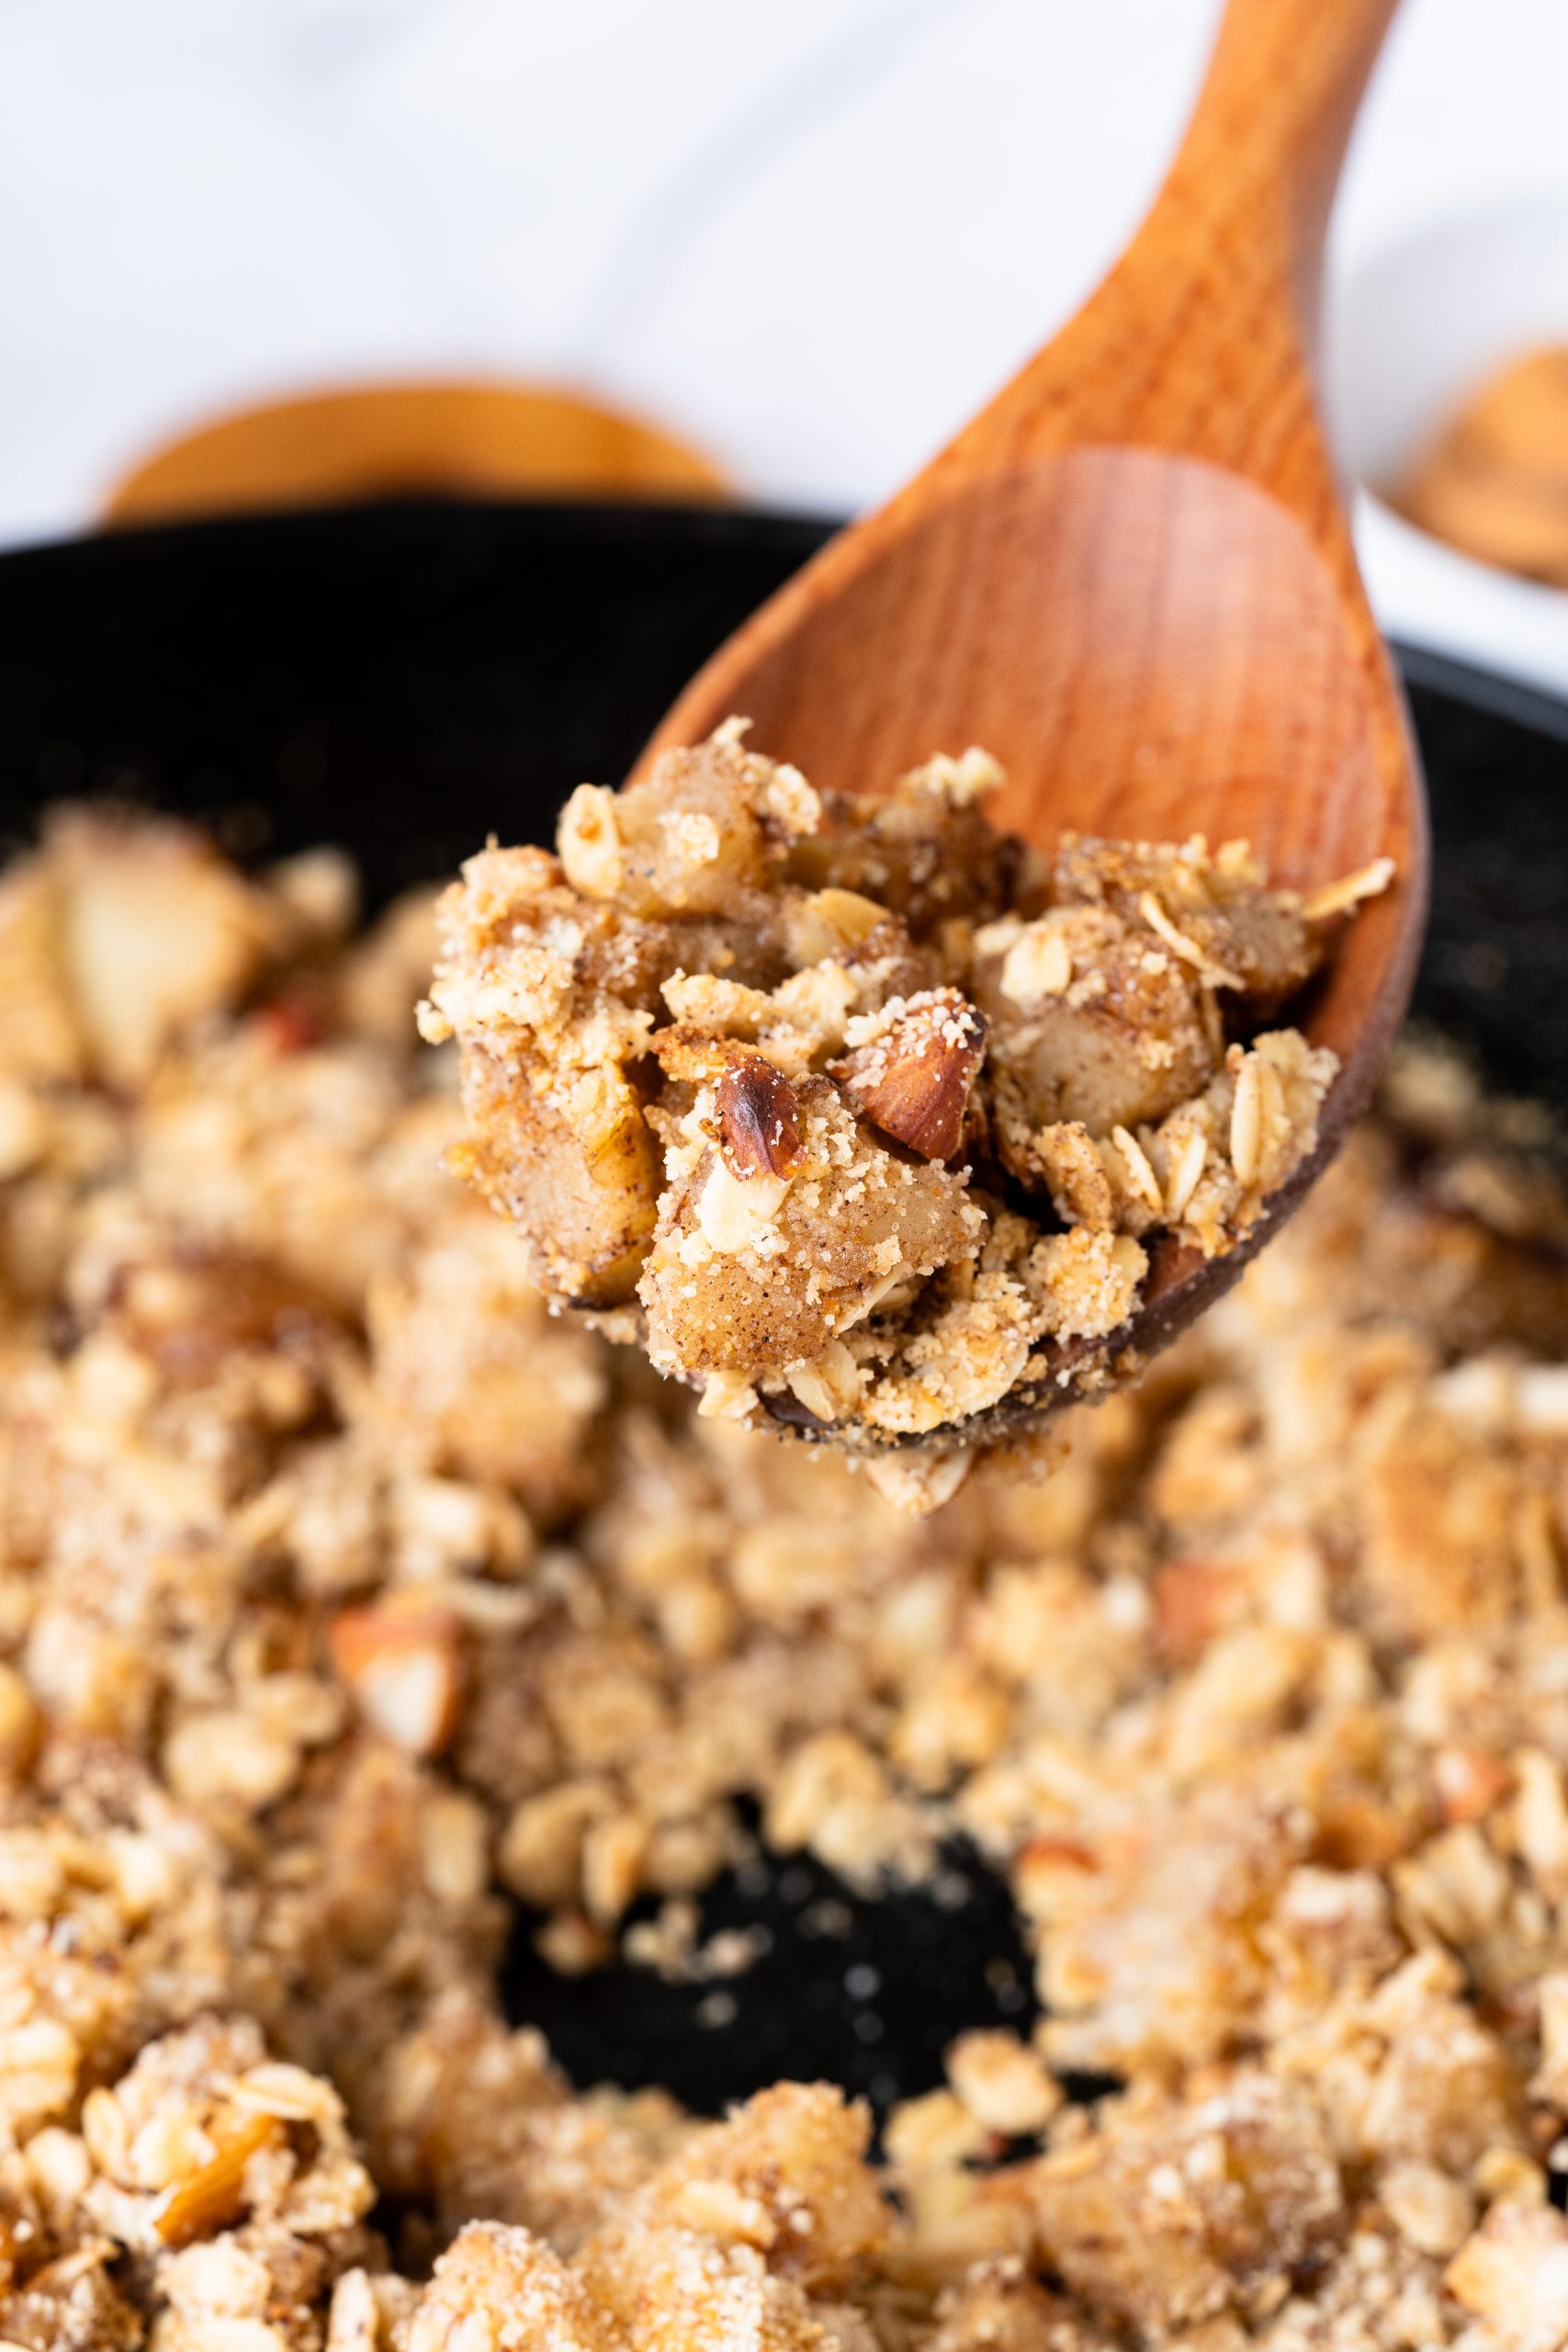
Why you will love this healthy apple crisp recipe
- Delicious, guilt-free dessert
- Bursting with fresh apple flavor
- Easy to prepare
- No added sweeteners
- Great for breakfast
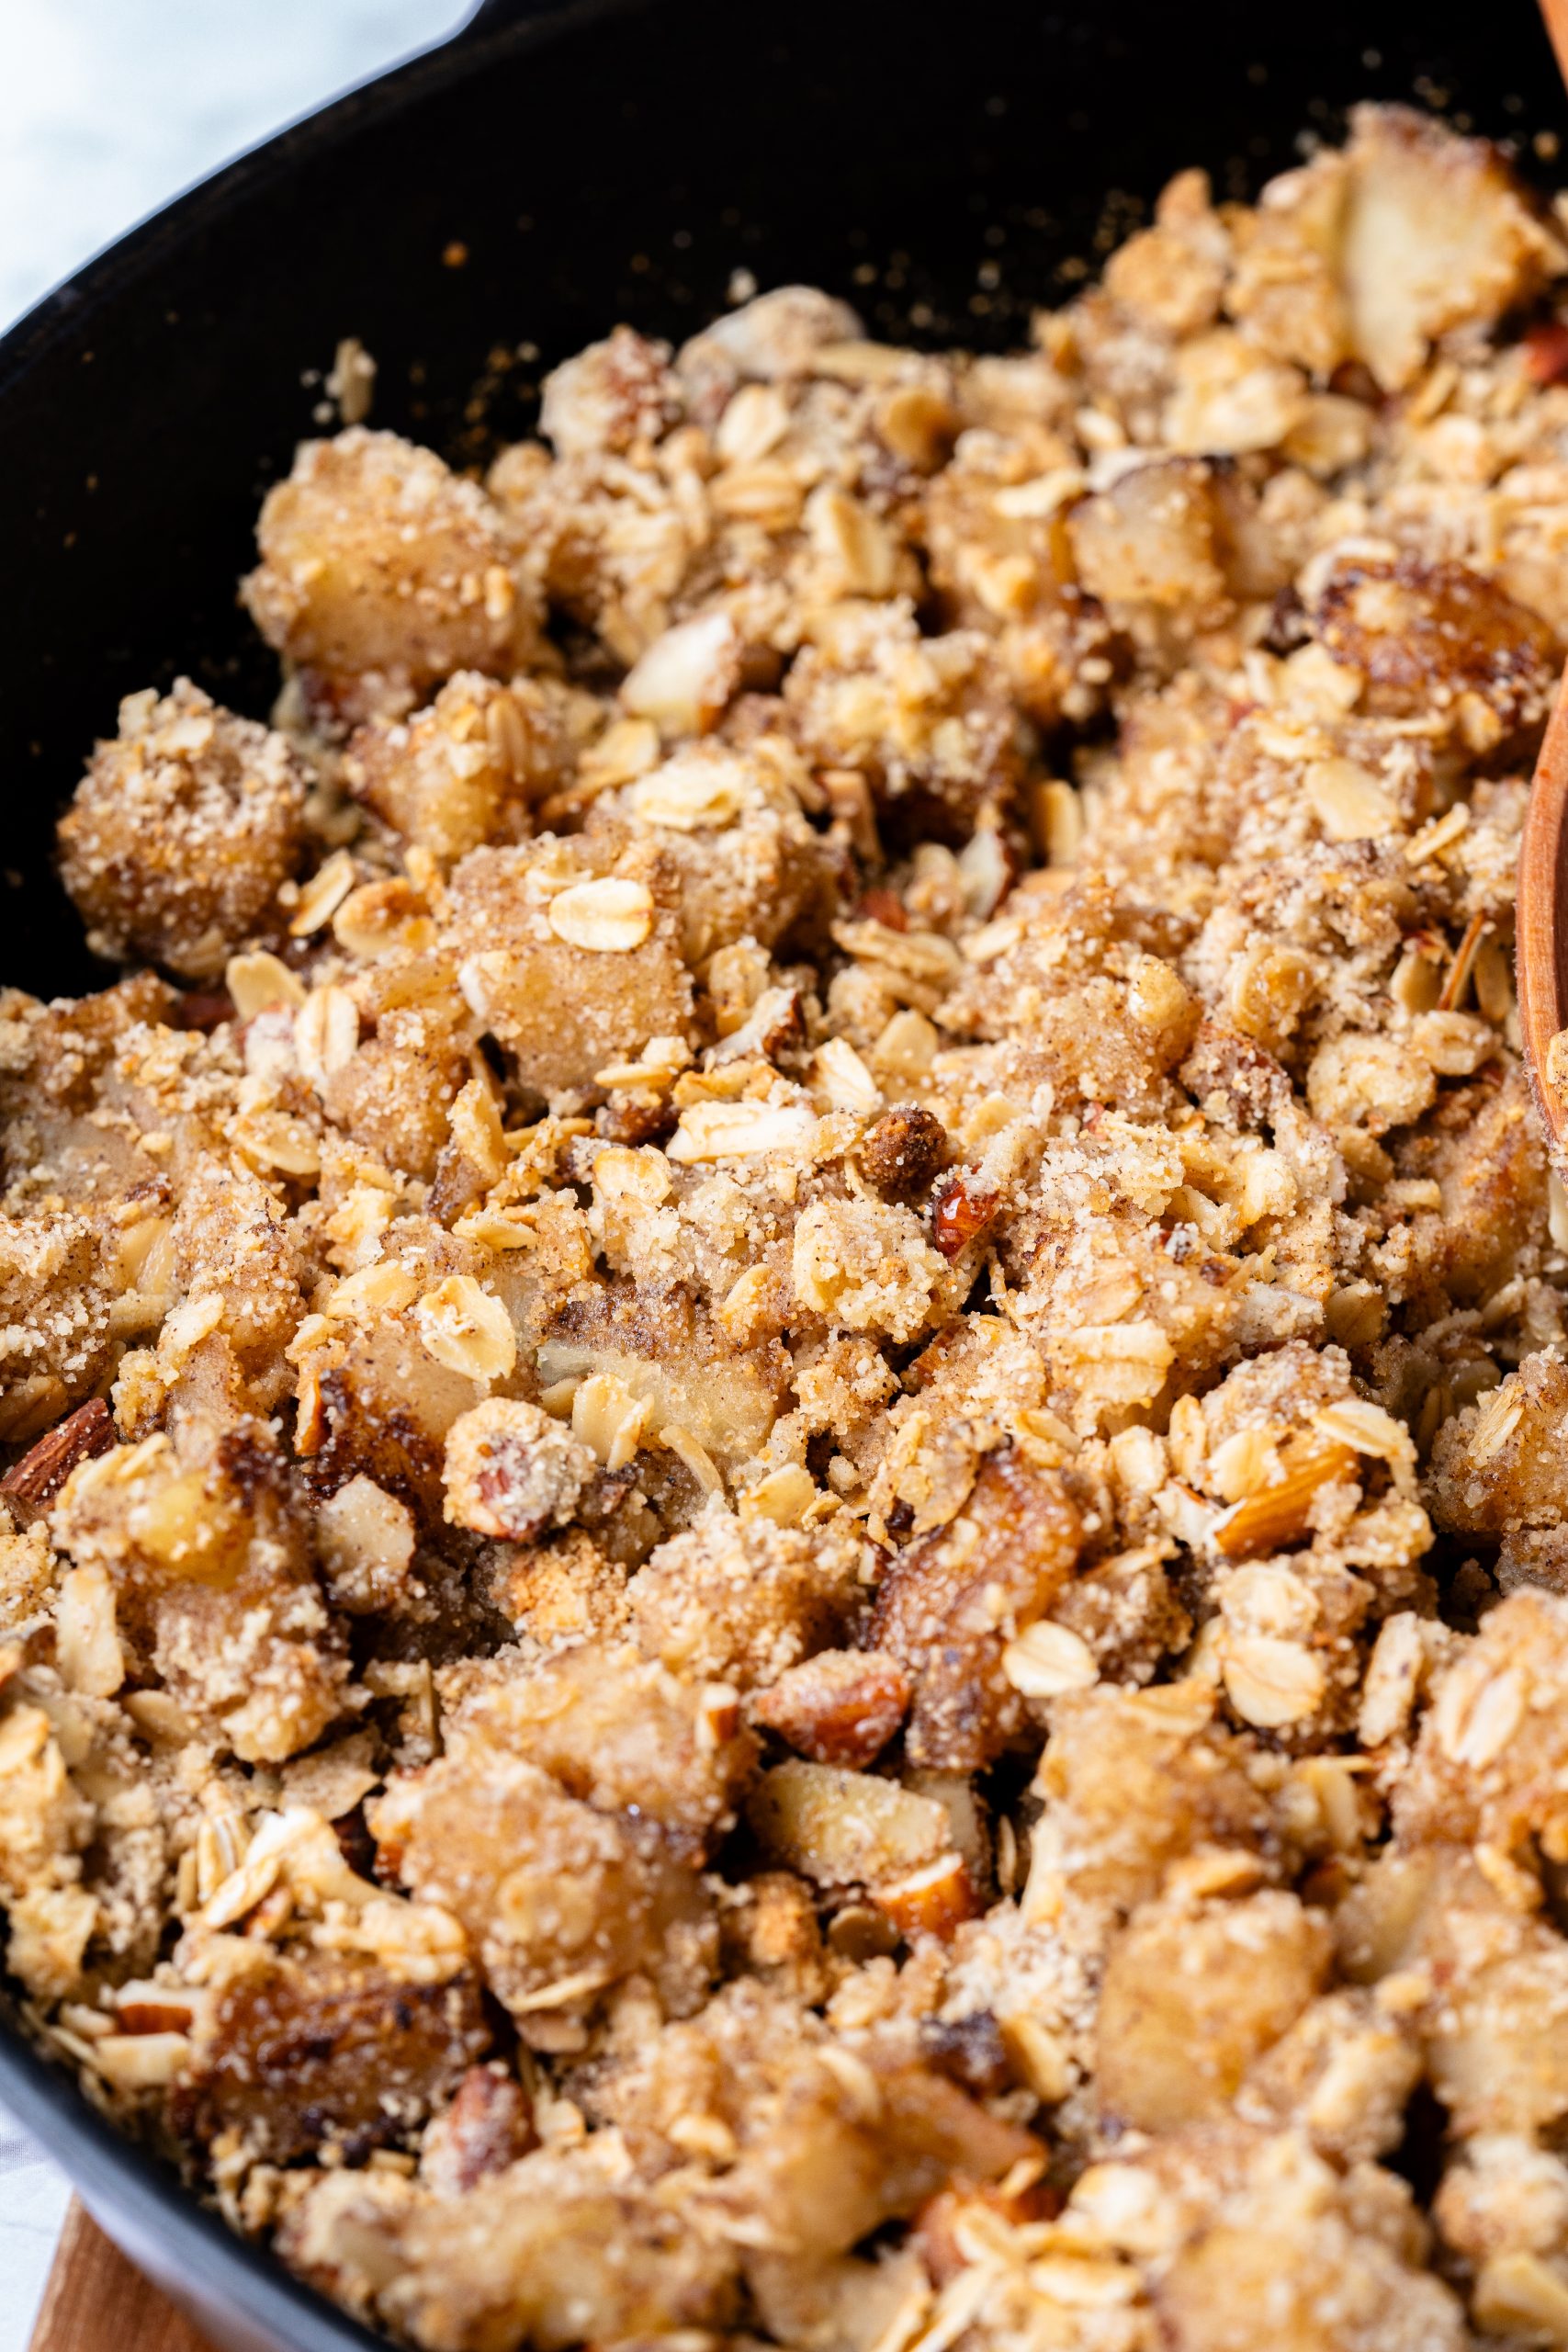
How to Make Perfect Healthy Apple Crisp
Melt the Butter. Melt the butter over medium heat in a cast iron or other oven-safe skillet. Having an oven-safe skillet is essential for this recipe — it won’t work without it.
Cook the Apples. Toss the cubed apples, spices, and water in the skillet. Let them cook for 5-7 minutes, stirring every once in a while. Only if needed, a bit more water can be added to help with cooking. Remove the apples from heat when they become tender, but before they become mushy.
Make the Topping. Combine all the ingredients for the crisp topping in a mixing bowl. Mix thoroughly, being sure to evenly incorporate the butter. Once the ingredients are well mixed, spread the topping evenly over the cooked apples.
Bake the Crisp. Preheat the oven to 350 degrees F. Transfer the skillet to the oven and bake for 30-35 minutes. The top should turn a nice golden brown. To avoid burning, I always recommend checking on the crisp occasionally while it’s baking.
Serve and Enjoy. This apple crisp is best served warm with a dollop of Greek yogurt on top.
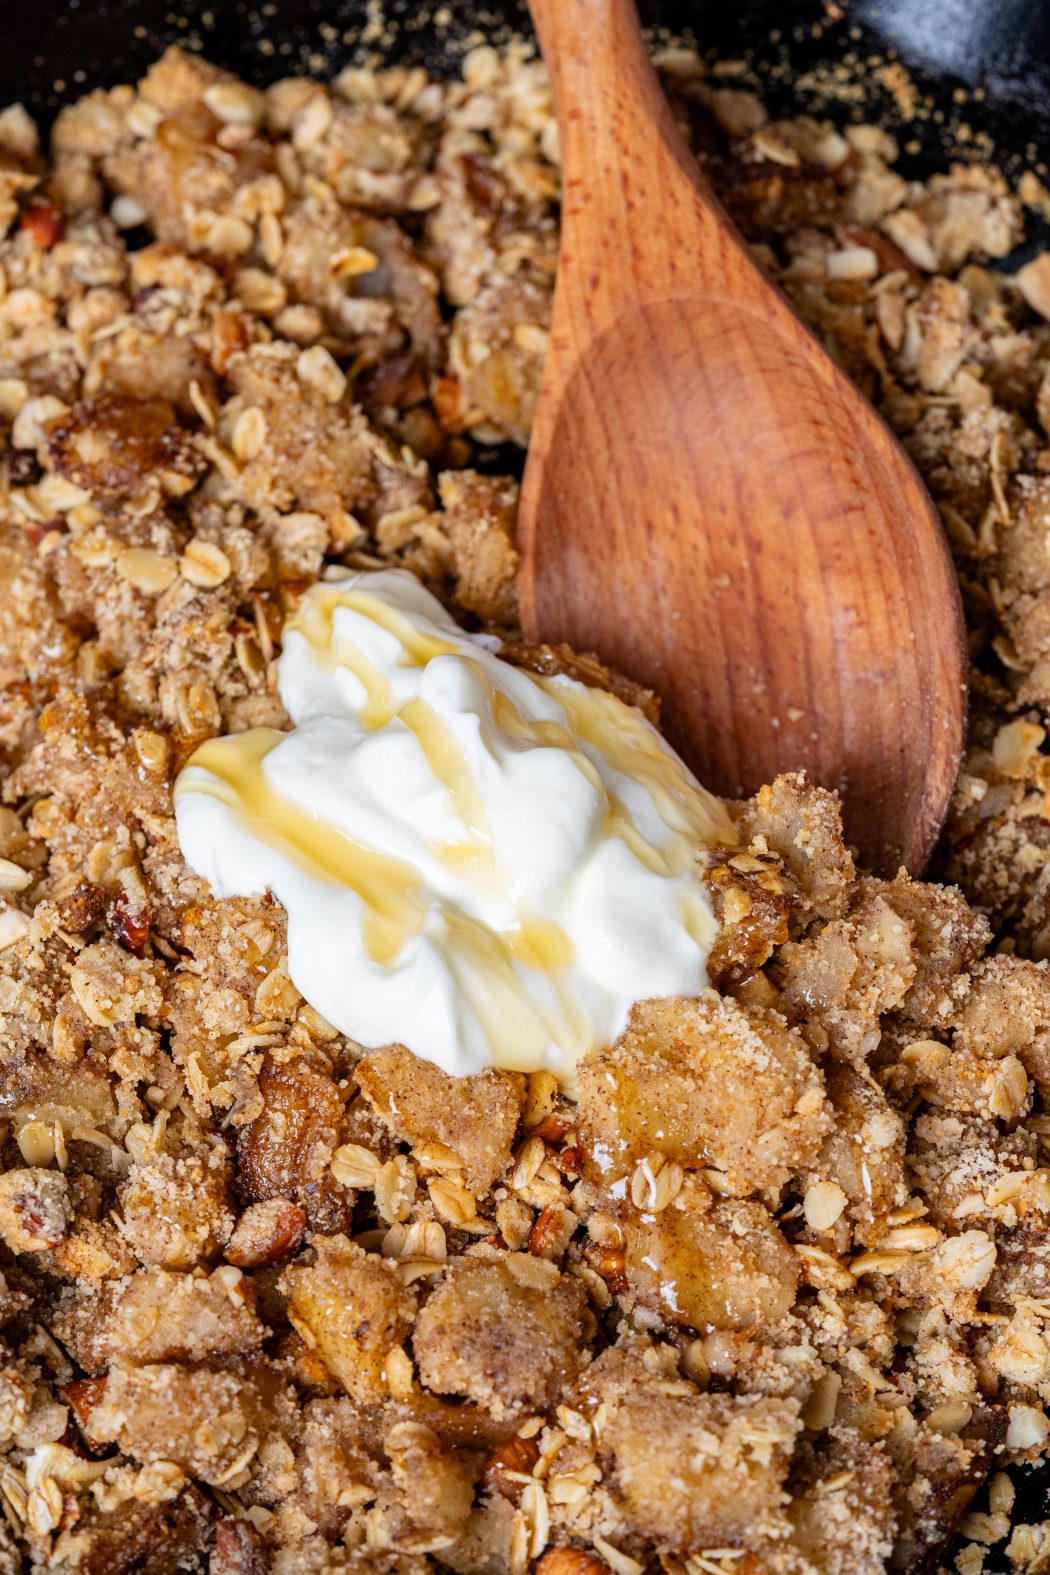
Key Ingredients and Substitutions for Healthy Apple Crisp
Apples: Since I prefer the taste, I usually make this recipe with juicy, red apples that I know hold up well to baking. Some of my top picks include Pink Lady, Braeburn, Jazz, and Honeycrisp. This crisp can also be made with tart green apples like Granny Smith or with a mix of green and red. All apples should be peeled, cored, and cut into ¾ inch cubes.
Spices: Cinnamon, ginger, and nutmeg add layers of warmth and accentuate the natural sweetness of the apples. When needed, I have swapped them for a pumpkin spice or apple pie spice blend. The crisp comes out a bit different but still just as scrumptious.
Oats: I prefer rolled oats for this apple crisp recipe. They are thick, hearty, and give the crumb topping an amazing texture and appearance. I usually avoid quick-cooking oats in baked recipes. Unfortunately, they have a tendency to turn to mush.
Frequently Asked Questions about this Healthy Apple Crisp Recipe
What is the best way to store leftover apple crisp?
Healthy apple crisp leftovers should be transferred to an airtight container and stored in the refrigerator. For food safety purposes, it is best to have the crisp in the fridge within 2 hours of baking, where it will stay good for 3-4 days.
Individual portions can be reheated in the microwave, but I much prefer the oven method. I simply pop my leftover crisp into an oven-safe dish, cover it with foil, and heat it in a 350 degrees F oven for 15-20 minutes. Just like new!
Can this healthy apple crisp recipe be made ahead?
Yes, this apple crisp recipe can be made ahead of time, but not too far ahead.
My suggestion is to get all the prep work done in advance. For example, I’ll process my apples, measure my spices, and premix my oat topping. Then, I can do a quick assembly right before it’s time to bake.
If needed, the crisp can be fully assembled, covered, and refrigerated for up to a day before baking. Beyond that, quality and freshness will decline.
What is the secret to crunchy apple crisp topping?
I get perfectly crunchy apple crisp topping every time by following a few key guidelines.
To get the butter evenly spread throughout the topping mixture, I start with cold butter, chop it into small bits, and then incorporate it into the other ingredients.
Then, I make sure to spread the topping on evenly and only put my crisp in a fully preheated oven.
Last but not least, I always include nuts in my crisp topping for an added crunch factor that can’t be beat!
Healthy Apple Crisp
Ingredients
- 32 oz red apples (combining with some green apples would work too), cored, peeled, and cubed into ¾ inches pieces
- 2 tbsp butter
- 3 tbsp water
- 1 tsp ground cinnamon
- 1/4 tsp ground nutmeg
- 1/4 tsp ground ginger
Toppings
- 3/4 cup rolled oats
- 3/4 cup almond meal
- 1/2 cup chopped almonds
- 3 tbsp butter
- Greek Yogurt and raw honey to serve
Instructions
- You’ll need an iron cast skillet or oven-safe skillet for this recipe.
- Heat the skillet over medium heat, add butter, and let it melt. Next, incorporate cubed apples, water, and ground spices. Stir to combine and let them cook for 5-7 minutes, stirring occasionally for an even cooking. Add more water to provide extra moisture and help with cooking, only if needed. Once the apples are tender but not mushy, remove from heat.
- Combine topping ingredients in a bowl and mix well. Then, spread it over the cooked apples. Gently mix to combine.
- Preheat the oven to 350F and bake the apple crisp for 30-35 minutes or until nicely golden on top. Keep an eye on your apple crisp to avoid undesirable burning on top.
- Serve warm with Greek yogurt on top.
Notes
- If you have leftovers, store the apple crisp in an airtight container in the refrigerator.
- To reheat leftovers, you can use the oven and set it at 350F. Place the apple crisp in an oven-safe dish and cover it loosely with aluminum foil to prevent excessive browning. Reheat for about 15-20 minutes or until warmed through. For a quicker option, you can reheat individual servings in the microwave.



Leave a Reply