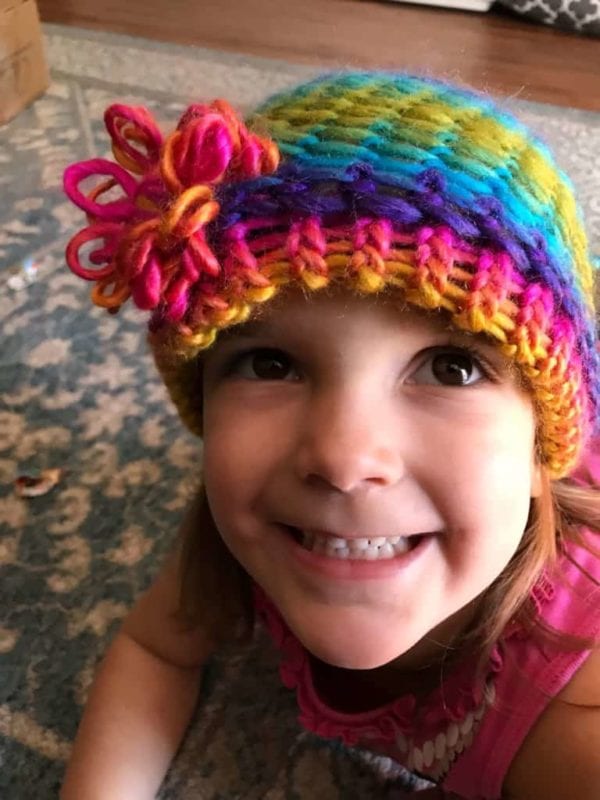
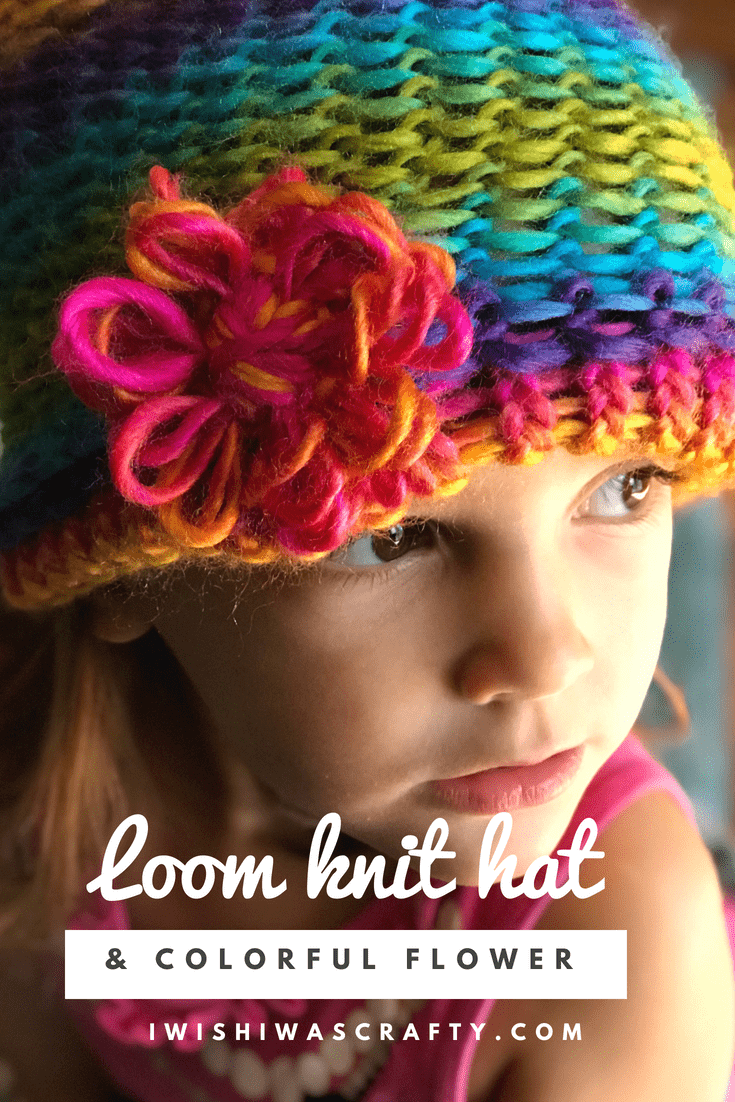
Make this Colorful Knit Hat with Flower for all of the colorful girls in your life. I love this simple loom knitting pattern so much that I know it by heart and make it when I want to knit but have no real project in mind.
This beginner pattern is a great place to start if you have never picked up a knitting loom but want to give it a try. It is also a great, simple pattern if you want to make a round of gifts for the girls in your life but aren’t sure if you have enough time for complicated work.
Quickly this momma learned that if I make one of anything, I am going to have to make several <— it is a side effect of having 3 daughters. This Colorful Knit Cap with cute little flower is super simple to make on a knitting loom.
Thank goodness because I have made so many I have lost count…
Colorful Knit Hat with Flower
While I am pretty handy with a crochet hook, control over traditional knitting needles escape me. I am a preschool level knitter, but I love the look of knit stitches. (Maybe one day I will actually master knitting!)
I didn’t even know Loom Knitting was a thing until a couple of years ago. And while there are plenty of complicated patterns to master if you get super jazzed about Loom Knitting later, there is a huge list of goodies you can make with really simple stitches and an inexpensive plastic loom.
Loom Knitting this Simple Knit Hat
I know the word “inexpensive” can be a little questionable… (what qualifies as inexpensive anyways?) You can purchase a set of round knitting looms, including 4 different sizes for about $25.
This set of looms will make everything from socks to beanies that fit everything from baby dolls to adults. For a couple of extra dollars, you can pick up a flower loom to make fun embellishments for your projects. (I love excuses for glitter, pom-poms, and flowers over here.)
This Colorful Knit Cap literally uses one type of stitch for the entire pattern but by changing up the yarn, adding cute embellishments, or switching between the knit and purl side of the stitches, you can create lots of different looks.
So grab your round looms and check out the video. I will walk you through making your first cap in no time. Then you can make tons of them and give them to everyone you know.
The first few caps will take a little time as you master working with a loom. But now it takes me about 2 hours to make a hat from beginning to end. I find it super relaxing to work with a pattern I know by heart. It clears my head when my hands are busy. And there are lots of worthy causes that take donations of knit caps – check out your local hospital NICU or Cancer Center.
 A Note About Loom Sizes:
A set of round looms will generally include 4 sizes — small (21 pegs) medium (31 pegs) large (36 pegs) and extra large (41 pegs). Generally kids over the age of 1 or 2 all the way up to adults will use the large, 36 peg loom for hats. The small will work for doll hats, socks, even gloves. The medium will fit a premise or newborn up to about a year old. The extra large fits those of us with extra large noggins – it also is a fun size for the slouchy style adult hat.
When you are using a loom, the general rule of thumb is 4 knit rows will be about an inch. (Give or take a little depending on the yarn you select. So if you want the hat to be 8 inches tall (which is a good size for an adult hat), you can multiply 8 (inches of hat) times 4 (rows per inch) and know you will need an estimated 32 knitted rows tall for the hat to be the size you need.
This knit hat pattern has a brim. When you create a brim, you will learn to knit rows double the length of the brim you desire, double it back on the loom (that will half your current row count). Then start knitting again to close the brim and start building your hat length again. (Don’t worry, I will show you how!)
What You Need:
One skein of bulky, colorful variegated yarn (this is the one I used) or 2 skeins of soft worsted weight yarn.
1 round knitting loom (You can purchase in a set for under $20 – this pattern uses the large 36 peg loom.)
1 loom pick (should come with your loom)
1 flower loom
Scissors
Tapestry needle for closing the hat and weaving in ends.
What You Do:
- Create a slip knot and attach it to the anchor peg. That is the lonely little peg on the outside of your loom. Leave 2 inches of yarn tail at the end to weave in later.
- Circle each peg winding behind the peg first and around the front (clockwise) before moving to the next peg. Make 2 round around the loom so that you should have 2 sets of yarn circles on each peg.
- Using the loom pick, pull the bottom yarn loop over the top of the first yarn loop (and off the top of the peg). Work your way completely around the loom until you are back at the 1st peg.
- This is the first round (and is called casting on).
- For the second round, loop the yarn around each peg again, working clockwise around each peg. Use the loom pick to pull each bottom yarn loop over the top.
- As you continue to make rows, you can release the slip knot on the anchor peg so it does not pull on the stitches in the loom.
- Continue in round until you have made 12 rounds. (This hat has a 1 1/2 inch brim).
- Reach through the inside of the loom and pull up the first round you created. The ends will have open loops that are a bit different than your other stitches. Tuck your loose yarn end from your starting anchor peg inside the pocket you are creating and pull each open loop back onto the cooresponding peg. This will give you 2 yarn loops on each peg.
- Wrap each peg a third time (you should have 3 yarn strands on each peg). And use your loom pick to pull the 2 bottom loops over the top yarn loop and off the peg. This will close off the brim and you can start wrapping the pegs again and using your loom pick to make normal rows again.
- Continue making new rows until your hat reaches approximately 32 rounds or 8 inches long. (Keep in mind that once you make the brim, it will only be 6 rounds high instead of 12. So you will have 38 total rows but only 32 will make up the height.)
- If the hat looks too short for the recipient, feel free to add rows until it works for your needs. Yarn weight and gauge are different so each will be a little different.
- When you are ready to close the top of the hat, loop the loose yarn around the loom twice so you have plenty of yarn to use in closing the hat before you cut the yarn from the skein with scissors.
- Using your tapestry needle, thread the yarn end at the top of the hat. Using your needle, thread the yarn under each loom peg, keep the first couple of looped pegs on the loom but after the first few, you can begin pulling it off the peg as you go. Make sure you thread under each peg carefully before you pull it off the the loom.
- Make a second round of looping under the yarn on the starting pegs, pulling them off the loom this second time.
- You will have threaded each loom stitch on the round and the hat should now be completely off the loom. Gently pull on the end of the threaded yarn and it should close the hole at the top of the hat.
- Using your tapestry needle, make some crossing stitches at the top of the hat to tie off the hat and pull the yarn to the inside of the hat before you cut it. You can tie the yarn is a square knot before rethreading your loose end at the top and weaving in into the stitches of the hat.
Making a flower on a flower loom
- If you would like to add the flower, use a flower loom (which does not generally come in a set, but is only a couple of dollars.)
- Start the flower on the loom the same way you did the hat. Create a slip knot and hook it to the anchor peg. But instead of working around the loom, you will work across the loom, making figure eights with the yarn moving to the next peg with each figure eight.
- Make 2-3 rounds on the flower loom (you don’t pick these off with the loom pick. You leave all of the yarn on the loom.
- Circle the loom twice with the working end of the yarn before you cut it. And release the yarn from the anchor peg.
- Working your way through inside of the yarn to secure each flower petal, tie the released anchor yarn and the working end of the yarn in a square knot of the back of the flower. Then use your loom pick to release the yarn from the loom. It should fan into a flower once it is off the loom.
- Use the spare yarn on the back of the flower to stitch it into the brim of the hat or the top, stitching down a couple of flower petals into the hat too so it doesn’t hang.
 A Note About Loom Sizes:


Leave a Reply