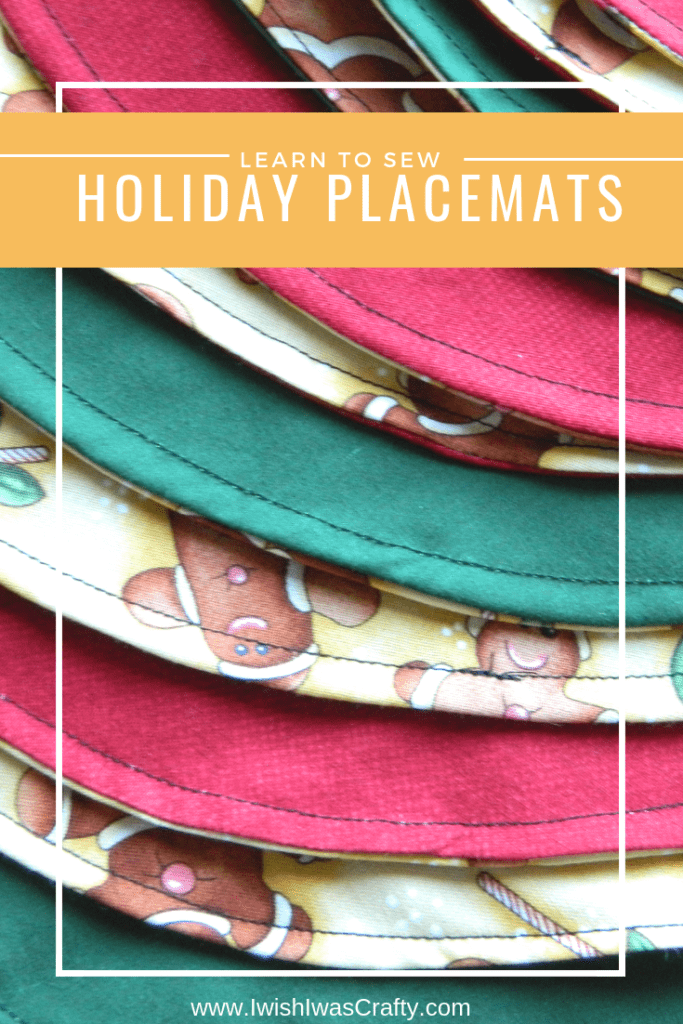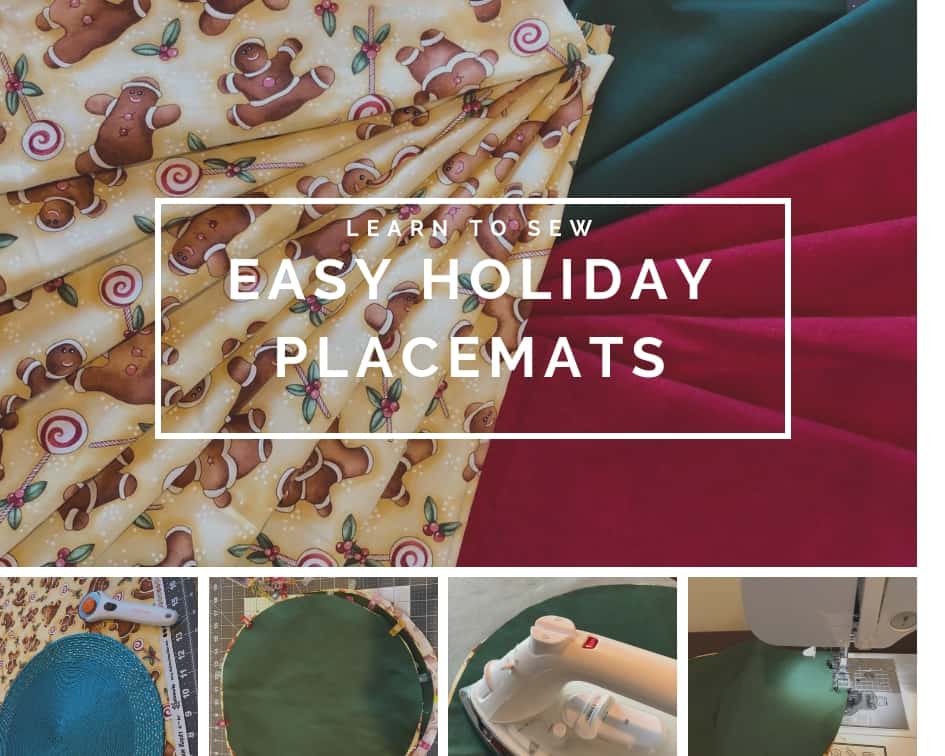
These Easy Holiday Placemats are a great way to change up your decor for Christmas without spending a lot of money or taking up a lot of storage space when Christmas is over. They also make great gifts for family members and friends around the holiday.
This simple placemat pattern is also easy enough for beginners, no matter how much or little you have sewed in the past.
Easy Holiday Placemats
Can you believe it is time to start thinking about the holiday season??! Where did the year go? If you are a beginning sewer, this tutorial is perfect for you. Make sure you check out the beginner’s guide to sewing too!
Some may say it’s a tad early to be thinking of the holidays but that has never stopped me. It is truly my favorite time of year. I’m so happy that I have a new table to accommodate our visiting family and friends as we prepare to host holiday dinners this year. This is why I have decided to start making some new placemats. Goodbye service for 4 and hello to service for 8! Let’s get started.
Holiday Placemat Pattern
Supplies Needed:
- Fabric (or two coordinating fabrics for reversible placemats). A linen or cotton woven works best.
- Coordinating thread
- Sewing machine
- Scissors or rotary cutter and mat
- An iron for pressing seams
- An old placemat for tracing/cutting your fabric (if you have one available)
- Batting (optional)
Directions:
- Iron out your fabric(s) before you cut out your placemat. Using an old placemat as a guide, cut out double the desired number of placemats you’d like to make (leave yourself ¼ to ½” seam allowance). I made a set of eight holiday placemats with my patterned gingerbread fabric on one side and solid color (green/red) on the other. I cut 16 circles between the three fabrics to achieve this diverse look. (If you do not have an old placemat to work off of, you can cut a rectangle 17” by 10.5” and use a ¼ to ½” seam allowance.)
- If you’d like to add batting, cut out a piece for each placemat. I decided to make a set with batting for my kids because of the increased durability it provides. I’ve been blessed with some serious spillers!
- Place your right sides together. While taking this extra step is not necessary, I like to use the iron to press before adding my clips. Use pins or sewing clips to secure around the border of your mat. If you are using batting, place the piece on top before securing your right sides together. You are now ready to sew a simple stitch around the edge. Make sure to leave a sufficient opening on the side you started sewing on for turning your fabric out. (If you’re making a rectangle placemat, you will want to clip the corners off before turning out. This will give you perfectly, pointed corners.)
- Turn your fabric out and use a hot iron to press the sides and the opening in your seam. You will then top stitch around the entire placemat, close along the edge (about ⅛ to ¼” seam). With my round placemats, I sewed once around for the border. However, with my rectangle set, I chose to sew two separate seams around for a more defined border.
You should have yourself a beautiful new set of placemats! For a fun twist, you can always choose to color block, add a binding or trim to the border, or even add a little pocket on the front for the silverware. So many possibilities, cute accents can help to make these your own. Matching hot pads or napkins would be a great complimentary if you plan to gift these away.


Leave a Reply