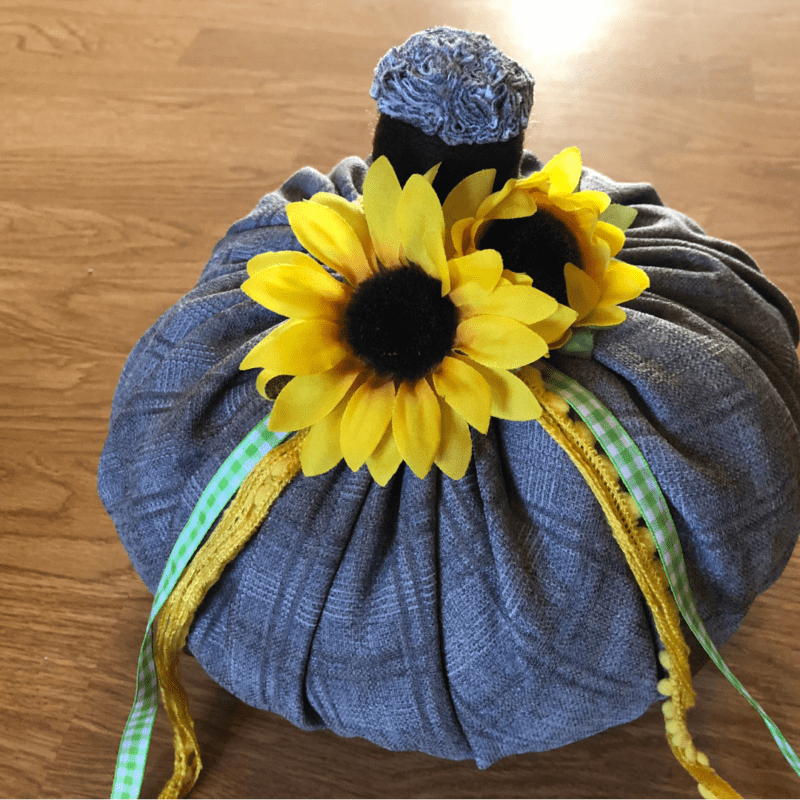
Fabric Pumpkins are such a fun way to sprinkle Fall decor around your home. Pumpkins are both easy and inexpensive – and if you have the kind of craft supplies laying around that I do, they can likely be made with scraps from other projects (or even that old shirt you don’t wear anymore!)
I like to pair these with my other Fall Decor – like these Mason Jar Crafts!
(Looking for more Fall decor ideas? Check out these DIY Fall Signs and these Fall Front Door Ideas!)
Or if you’re looking for my favorite pumpkin recipe, try Roasted Pumpkin Soup!
So grab your craft supplies and let’s complete the fall decorations for your home, school, or office. I first fell in love with these pumpkins while experimenting in preparation to lead a craft day for our local MOMS Club. Ever since, I have been making a couple of new ones each year to add to my collection.
How to Make Fabric Pumpkins
They are so simple and they really look cute adorning a table or lining a staircase. They are also a really budget-friendly way to decorate a classroom!
You can leave them simple or dress them up with embellishments such as fake flowers, leaves, ribbon, or yarn.
Let’s get started. The supply list for this craft is simple. You will probably find most or all of them around your house already. It’s also a great excuse to visit your local craft store and check out the sales on themed fabrics.
Fabric Pumpkin Supplies:
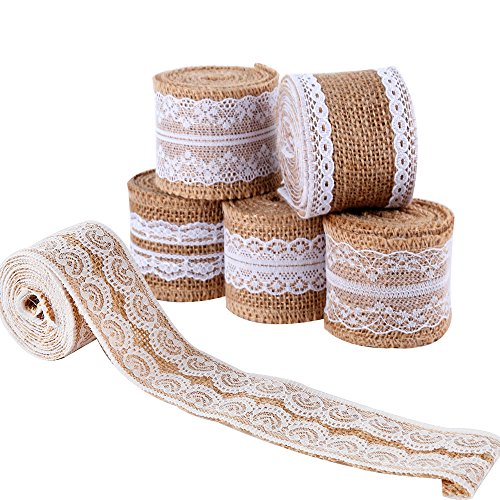
- Fabric of choice (cotton, flannel, burlap, knit, or sweater fabric are all a good choice.) Time to search your local thrift store for awesome sweaters!
- A bowl or round plate you can use as a guide to trace out your pumpkin
- A sharpie
- Needle and thread
- Scissors
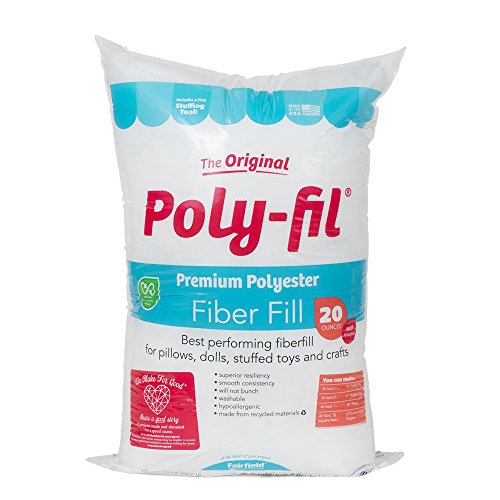
- Poly-Fil or a lot of plastic bags from the grocery store
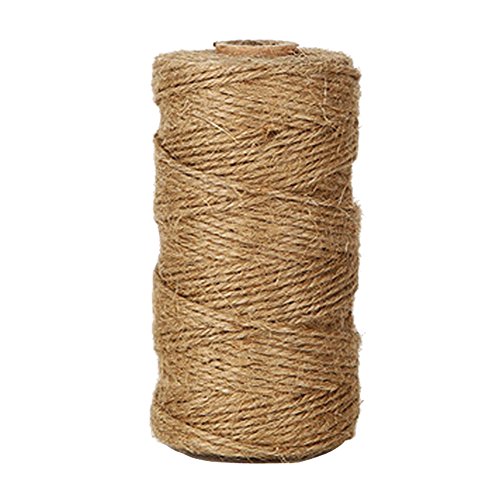
- Twine or yarn
- Any desired embellishments (ribbon, or fake flowers/fall leaves–pretty much anything you like. Get creative with it!)
Directions
- Lay your fabric out on a large work surface. Using your sharpie and bowl (or other circular guide) draw out a large circle. Cut out your circle (it doesn’t need to be perfect). 3-4 inches from the border of your circle, draw another circle inside your original one.
- Using your needle and thread, hand stitch along the inner circle all the way around. Pull the thread to bring your fabric together (be careful not to pull too tight and break your thread or rip your stitching).
- Now, it’s time to fill it up with your Poly-fil or plastic bags. Make sure to stuff it pretty well so it keeps its round, pumpkin shape. Once you’re satisfied with it, pull your thread the rest of the way closed and tie it off to secure it for now.
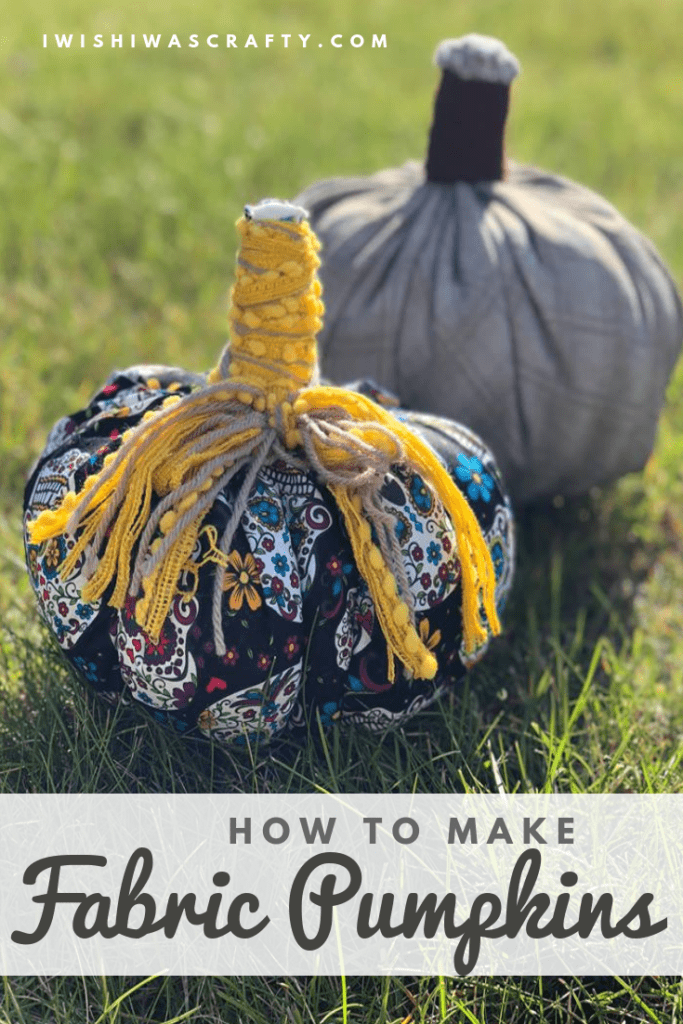
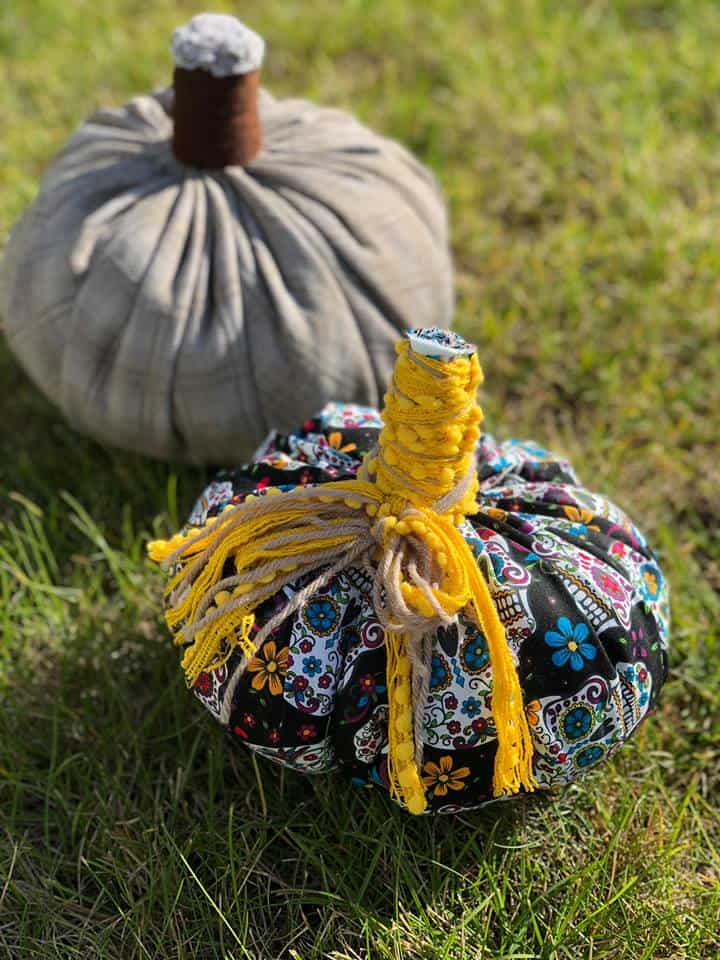
- Before taking the next step, you have the option to add thread or twine around the sides of the pumpkin to create creases and make your pumpkin look even plumper. To create this effect, start by tying your twine at the base of your stem, close to where you just tied off to close your pumpkin. You can use a needle and thread if you prefer (as I did for the sugar skull pumpkin pictured above). Wrap the twine around the bottom of your pumpkin to the opposite side and pull tight before tying it off. Cut your twine leaving a small tail that you will conceal in the next step. Next, repeat the step on the opposite side so you have 4 creases. You can repeat this step as many times as you like until you are satisfied with the look of your pumpkin.
- Next, using twine or yarn of choice, tie it around where you tied off your thread. Tightly wrap the twine up to create the stem of your pumpkin. When you are about to the top, make your way back down to the base and tie off your twine by making a loop and taking the rest of your twine back the other direction so you can tie it off and secure it. I like to leave a tail before cutting the strings off and use a crochet hook or chopstick to push them into the stem to hide them.
- On the stem, cut the excess fabric close (but not too close) to the twine/yarn. Now you can embellish the pumpkin however you choose. You can fluff up the pumpkin by pushing the sides in until you’re satisfied with it.
You should now have yourself a beautiful fabric pumpkin to display around your home. Share the pictures of your pumpkin decor to Instagram and tag us @IwishIwasCrafty so we can comment and share with our fans!
Robert Kaufman Kaufman Mammoth Flannel Buffalo Plaid Red Fabric By The Yard, Red


Fabric Pumpkin Patterns
For a reference to sizing choice, the square fabric pumpkin I made for this tutorial was out of a cut circle of about 22 inches in diameter. My finished pumpkin is about 21 inches around. For the sugar skulls fabric pumpkin used in the top example picture, I started with a cut circle of 27 inches and my finished pumpkin measures at 25 ½ inches around.
I hope this tutorial has inspired you to add fabric pumpkins to your fall decor. Happy crafting!
Looking for more Halloween Recipes and Crafts?
Need help fitting in all this Halloween fun? Schedule it all with this free printable October Calendar.



Leave a Reply