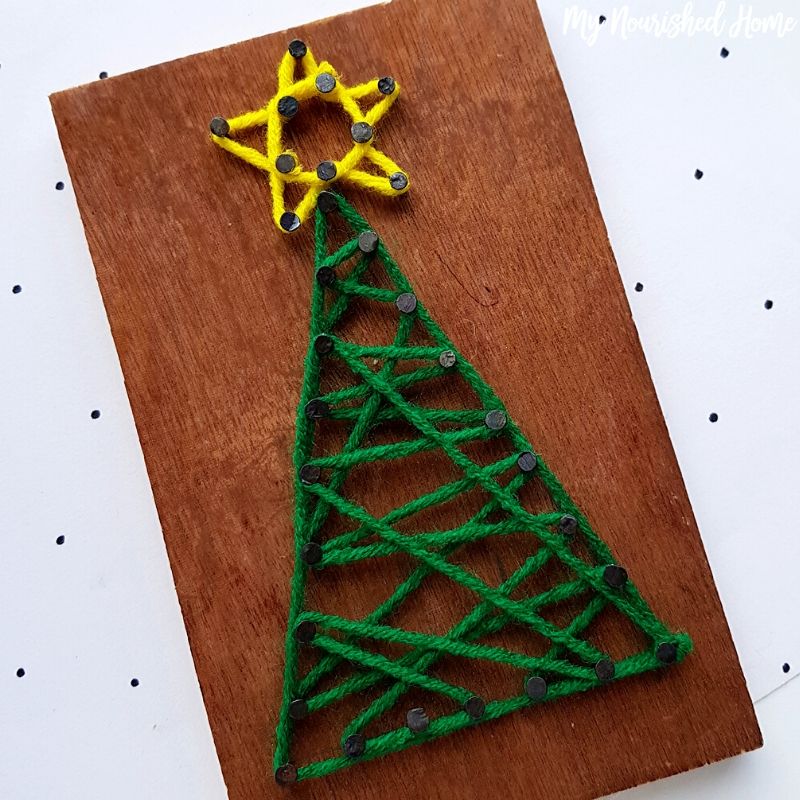
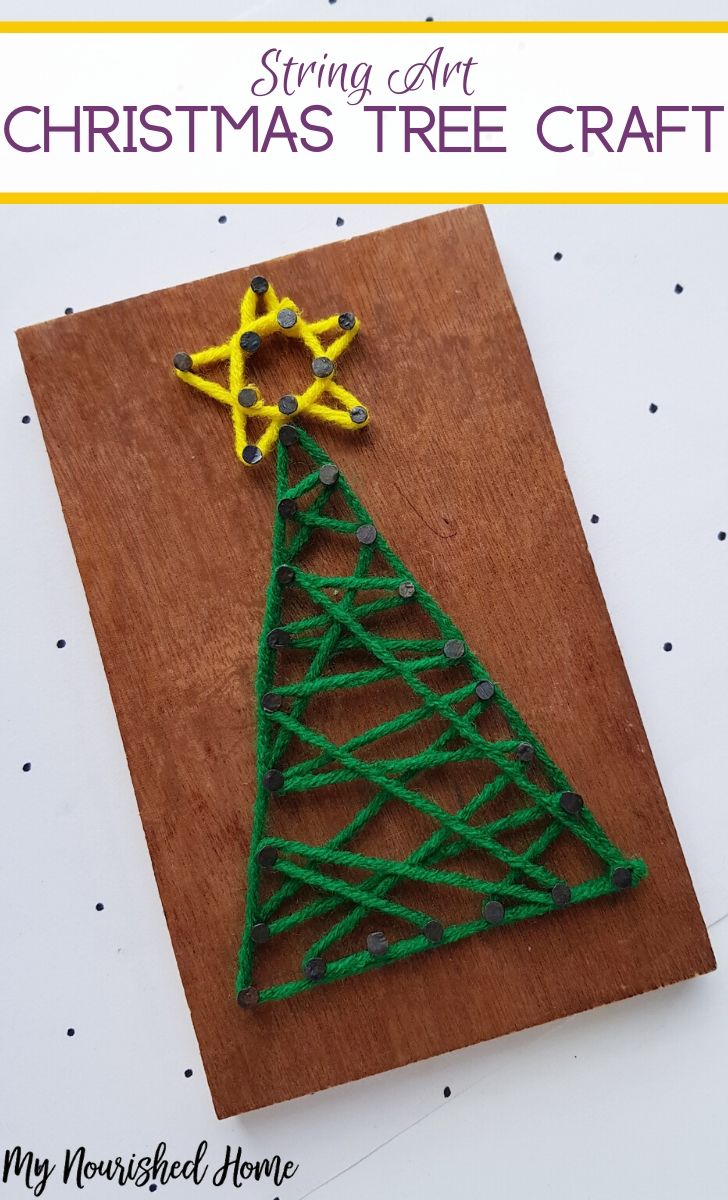
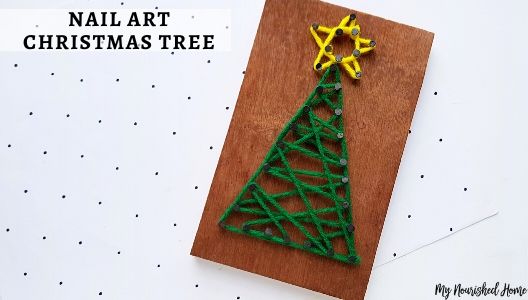
This String Art Christmas Tree Craft is such a fun idea! Make this adorable Christmas tree with your kids this holiday season. Use it in your own holiday decor or gift it to family members as a thoughtful gift from your kids.
With a few simple supplies and this step by step tutorial, your kids will be delighted to create their own Christmas Tree string art today!
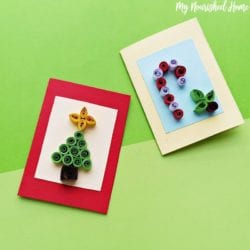
For more Christmas Tree ideas, check out Christmas Tree Cake, and Quilled Christmas Tree.
Christmas Tree Craft
This string art is so simple, you won’t even need a template. Gather up the yarn, wood, nails and other supplies listed below to make this magical holiday decor piece with your kids. Line up the wood and nails in the shape of a Christmas tree, gently tap in the nails and let your kids create the string design.
I have found it to be easier to line up the nails if you lightly trace the shape of the tree on the wood first.
Making Christmas Tree Craft ideas with your kids will help you get into the holiday spirit as you experience fun, joy, and holiday cheer during your craft time with kids.
This Christmas Tree Craft will keep your kids excited about Christmas. You’ll be able to create a magical Christmas tree using the string art method when you opt to print out my tutorial below. You can give this Christmas Tree Craft to friends or family members as a holiday gift or place in your home to bring the holiday spirit to life.
What Can I do With This Christmas Tree Craft?
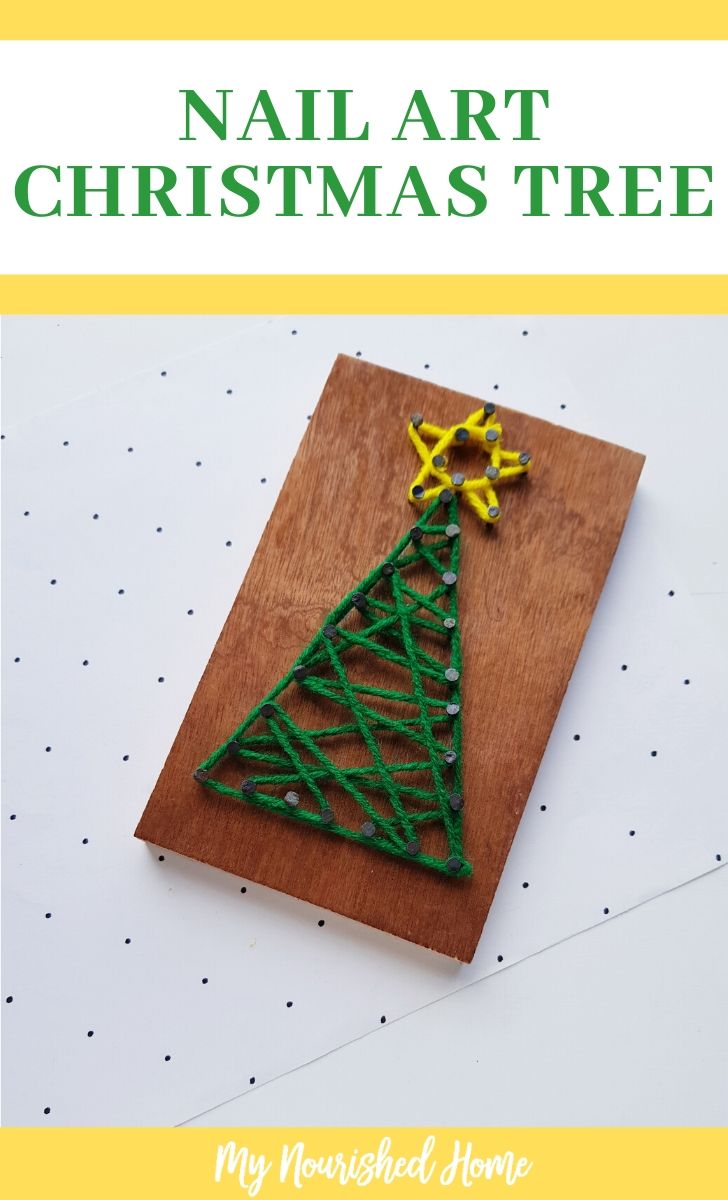
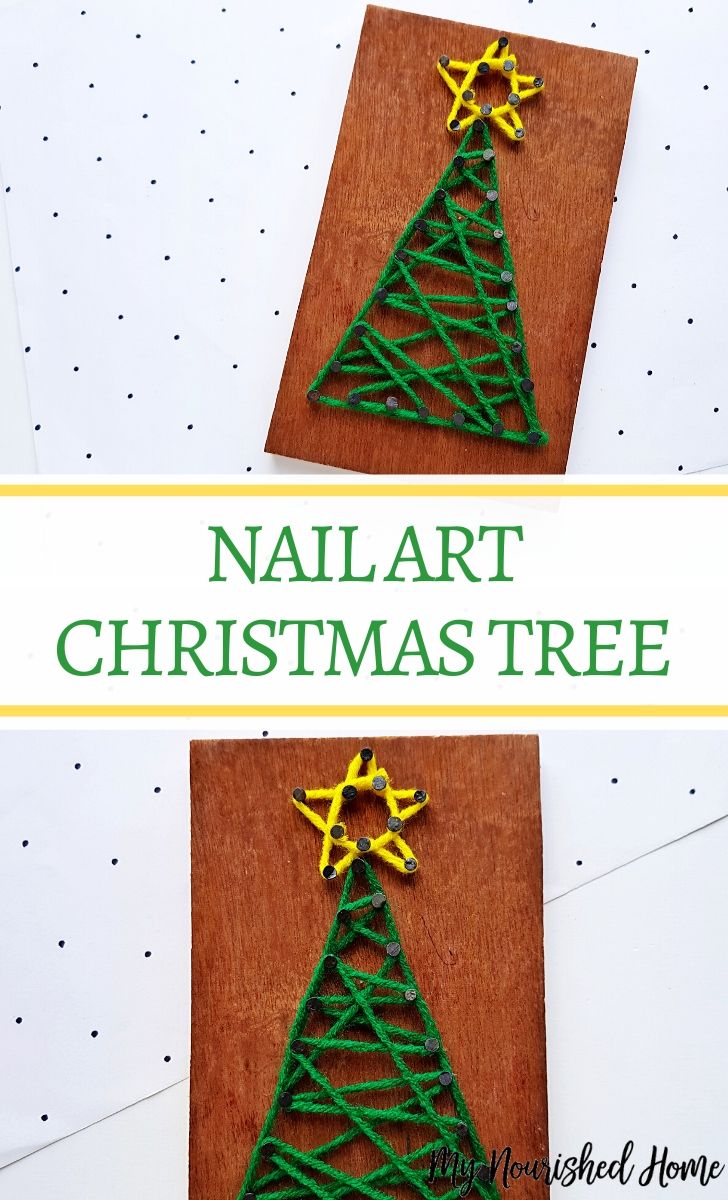
The awesome thing about this nail art craft is that you can use this method to create other string art designs. I’ve seen other people make hearts, and square designs using the same method I’m featuring today for this Christmas Tree.
Some ideas for uses:
- Wrap for holiday gift-giving.
- Give to a neighbor to say thank you for something special they’ve done.
- Decorate your home.
- Add your kids’ names to each Christmas Tree with the year to keep as a memory.
As you can see below, this is a relatively simple craft to make with your kids. You will need to supervise the kids and set up their string art template before handing this craft for kids over to your little ones. While your kids may be old enough to hammer the nails into the wood, it’s always good to have adult supervision when doing arts and crafts with kids.
Looking for more string art crafts for kids?
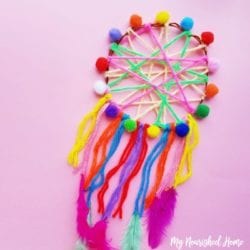
Check out this cool dreamcatcher! And this maple leaf string art is perfect for Fall.
String Art Christmas Tree Craft
Ingredients
- Scrap wood square or rectangle-shaped
- Pencil
- Nails
- Hammer
- String or yarn
Instructions
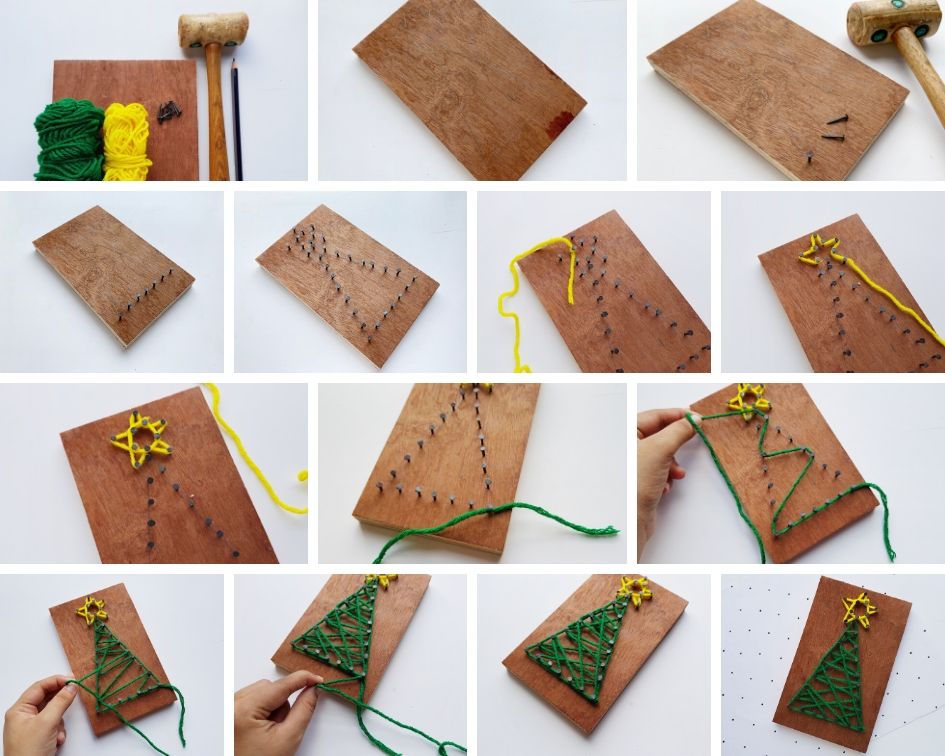
- Collect a piece of wood and prepare it to the required size and shape. I’ve cut mine into a rectangular shape. Use a pencil to trace a simple triangle tree shape with a star on the top end.
- Gather some small nails and a hammer. Start to hammer the nails on the wooden piece, along the traced lines. Start to hammer the nails from a corner.
- You can use a pencil to mark the nails points along the traced lines or you can simply skip a cm after attaching each nail on the wood.
- Continue to hammer the nails on the wood along the traced lines until the whole pattern is filled.
- Select a yellow (or any color you would prefer for the star) colored yarn or string for the star part of the nail art and tie a knot around any one of the nails of the star pattern. Do not cut the yarn or string from the bundle.
- Draw the yarn around the outer sides of the star nails to trace the star pattern.
- After tracing the outer lines of the star pattern, try to fill the inside of the star. Once you are done with the star string art, tie another knot around the current nail and cut off extra yarn or string.
- Select a yarn for the triangular part (the tree) of the nail art and tie the yarn around any one of the nails of the tree pattern.
- Draw the tied yarn strand randomly around the nails. You can go for a random pattern or you can also try to keep a sequence.
- Whatever pattern you chose make sure to fill the inside of the triangle part (the tree) nice and evenly.
- You can stop drawing the yarn strand around the nails once you are satisfied with the string pattern. Tie a knot around the current nail to secure the string art.
- Cut off extra yarn. Done!
Leave a Reply