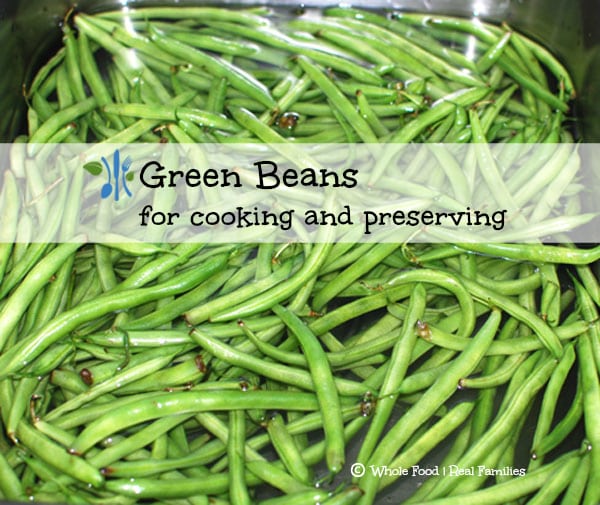
When I was a kid, I hated green beans. With a passion. Every time I took a bite they squeaked. I was older than I care to admit before I realized that green beans were not supposed to squeak. With this revelation came a great love of green beans. They rank very highly in my personal vegetable hierarchy.
To properly cook green beans, they should be blanched for two minutes. If you are going to blanch green beans anyway – you might as well get out the big pot and blanch a bunch of them at one time and store them in your freezer. It is still just two minutes in the pot and you will cut your prep time dramatically for future meals. Preserving green beans in the freezer is extremely easy:
- Wash your fresh green beans with cool fresh water from your tap. You want to remove any dirt – because who wants to eat dirt.
- Cut the ends off of your green beans, and remove any strings if your beans have them. Many people like to cut their green beans into pieces at this point. I like them to remain long because I think they are prettier on the plate. And it reduces prep time for me and everyone can do their own cutting at dinnertime. 🙂
- Fill a large pot 2/3 full of water and bring it to a boil over high heat. You want it to come to a rolling boil. Also prepare a second large bowl with cold water and ice.
- When you are ready to blanch the green beans, using a kitchen spider (to prevent splashing water on yourself) lower your beans into the boiling water. The two minute countdown begins from the time you lower your beans into the water, even if it stops boiling for a few seconds. Make sure the pot is on high heat and the water was a rolling boil first – this will help the water to come back up to temperature quickly. If you do not own a kitchen spider, it is extremely helpful during this process and not an expensive tool. You can find one at any kitchen store. Or you can order one here: WMF Profi Plus Large 13-1/2-Inch Wok Strainer.
- When the green beans have blanched for 2 minutes, using the kitchen spider again, remove the beans from the boiling water and place them in the ice water. This will stop the cooking so that the beans still have a firm texture when you cook them later.
- Let the beans sit in the ice water for the same amount of time as blanching – 2 minutes. Continue to add ice as it melts. If you are blanching batches of green beans, you do not have to pour this water out, you can reuse it up to 5 times. Just keep adding ice.
- Remove the beans from the ice water. I generally move them to a clean kitchen towel.
- Place cooled beans into a labeled and dated freezer bag before moving them to the freezer.
Wasn’t that easy?! Next time you want green beans for dinner. They will take minutes to cook and there will be no prep work!


Leave a Reply